|
|
Home | Audio | DIY | Guitar | iPods | Music | Brain/Problem Solving | Links| Site Map
This work is licensed under a Creative Commons License.
Construct Your Own Acoustic Guitar Humidifier
The first question may be why? There are a couple of reasons why you may want to build your own acoustic guitar humidifier. First, it is cheaper. Second. they are easier to use and are more efficient. Finally, the ones you pay $10 or more or for are notorious for harboring bacteria and molds in spite of using purified water.
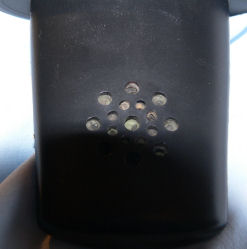
Here is a humidifier that was allowed to dry out in order to show the molds. Only purified waster was used, yet after six months this is the result: gray mold, green mold, and orange mold.
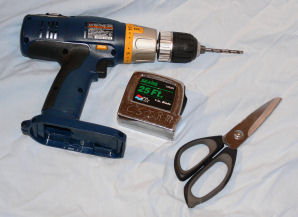
Tools
- Drill ( a battery helps!)
- 1/4" drill bit
- Scissors
- Tape measure (optional)
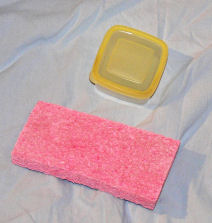
Materials
- Sponge
- 2" X 2" tupperware container.
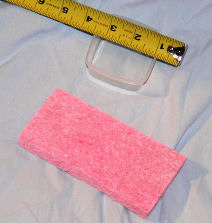
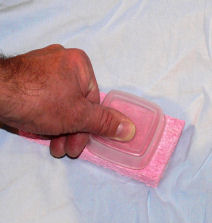
Step I
Measure the dimensions in order to determine the size of the sponge.
Or, push the container onto the sponge to make an impression.
Step II
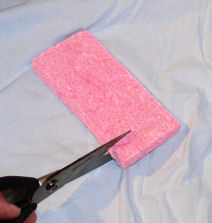
Cut the dimensions of the measurement of the container. Make sure to cut about 1/4" short on each side to allow for swelling of the sponge., or if you pushed the impression of the container then cut about 1/4"" inside the impression. This will allow for swelling once water is added.
Step III
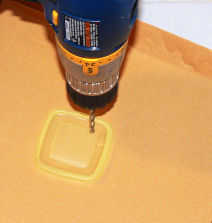
Drill a series of hole into the top to allow the moisture to escape. Be creative with you patterns, just make sure you have a minimum of about eight holes.
Step IV
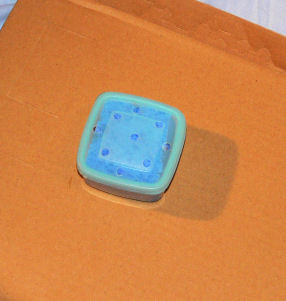
A finished humidifier. Just soak the sponge in water, and wring out the excess. Check it about once a week.
Step V
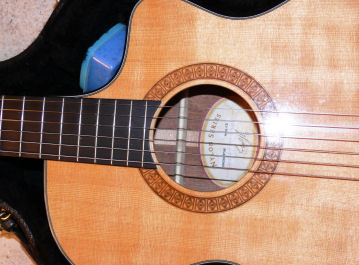
Here is the optimal placement of your humidifier.
Home | Audio | DIY | Guitar | iPods | Music | Links | Brain and Problem Solving | Site Map | Contact
![]()