Eros Phono Pre-Amp by Bottlehead
An Exceptional Audiophile DIY kit
Intro
The Eros is a new phono pre-amp (also configurable as a tape head pre-amp) with higher gain, better signal to noise ratio (compared to the Seduction pre-amp) and hybrid shunt regulation.
What's the difference between the Eros and Seduction?
There are a number of changes from the Seduction design. The input stage is now an EF86 pentode rather than a 6DJ8. The EF86 is perhaps the finest sounding low noise pentode made, being used in some exceptional microphones. At low signal levels like those of phono cartridges and tape heads the high gain of the tube can be taken advantage of without the sonic penalties often associated with the use of pentodes in higher power amplifier circuits.
Our unique use of the C4S constant source on this pentode offers a high level of isolation from power supply noise that might otherwise be amplified by the high gain tube, resulting in an all tube phono preamp with great resolution that can work with medium output cartridges without adding excessive noise. A servo circuit on the cathode of the EF86 accommodates production tolerance variations of various brands of EF86s and 6DJ8s, keeping the operating point at its optimum.
The power transformer is our own Bottlehead PT-5, a new low noise design made specifically for the Eros. The hybrid shunt regulator provides separate high voltage regulation for each channel and gives the Eros an added sense of speed and a sense of frequency extension that exceeds that of Seduction. The heaters are also regulated.
Gain is up from the Seduction's 40dB to 50dB. This extra gain allows easy use of high output moving coil cartridges into the 1mV range. In fact, while we don't recommend it, we have used the Eros with LOMCs in the 0.3mV range. For LOMC cartridges we suggest the use of a step up transformer in the 1:5 to 1:20 range to keep noise levels and impedance matching optimal. There is enough room "under the hood" to accommodate some of the smaller step up transformers offered by today's winders, and a resourceful individual should be able to figure out how to mount them very near the input RCA jacks if he so desires.
The chassis is 8" x 10" laser cut .080" random brushed aluminum - big enough to accommodate the two extra tubes, a bigger, more quiet power transformer and easy to stuff PC boards for the circuitry that doesn't carry audio signals. We even managed to retain the option of adding a Hammond aluminum box from the Seduction design, to shield the circuitry for those who live in high RFI/EMI environments. The wood base supplied is the same beautiful Pacific Northwest alder as our other kits, which you assemble and apply your favorite finish to. The kit is supplied with two EF86 tubes, a 6DJ8 tube and a 12BH7 tube for the regulator.
If you lack experience in working with electronics, then you may want to start by building the Crack. Regardless, when you do set out to build the Eros you will need to keep one thing in mind: take your time. Work at a pace that is comfortable for you and carefully follow the instructions. The instructions are some of the best that I have encountered, and when followed will help you attain your ultimate goal...a kick-ass phono pre-amp. Personally, I do not even set time tables. In fact, it took me a couple of years to finish one kit but when I did it fired up on the first try. Below are some more details about the Eros, and photos that I took of mine. I would compare the one that I built with phono pre-amps costing well over $2000. If you compare my images to the stock images you will see that I made numerous mods. Even the stain I used to finish all of my BH wood cases is "modded."
I used a cherry stain from Stew-Mac, the same stain used on the Gibson ES-335, and added a few drops of ebony stain to give it a darker look. Each case was stained about four times, and I used one can of polyurethane to finish each case. Once I applied the polyurethane, I then let the case sit about four weeks so that it could cure/dry completely. Once it was ready, I wet sanded with 1200 emory paper. I used water and a bit of liquid detergent as my sanding lubricant, and a sanding block. Once I finished hand sanding I then used a coarse, medium, fine, and a swirl remover polishes from Stew-Mac. I used a power drill with a foam proper polishing pad. When using a power drill be careful not to get the surface too hot. If it becomes too hot, then the finish my crinkle, warp, etc. This is especially true with nitro-cellulose.
Components
Signal wiring is all point to point with Teflon insulated wire and solid core shielded twisted pair cable. The power supply is easily assembled on PC boards. It is an efficient Schottky rectifier supply feeding dual active loaded hybrid (12BH7/LM431) shunt regulators in parallel with each channel of the preamplifier circuit. The DC heater supply is a full wave bridge of super quiet Schottky rectifiers feeding a Linear Technology regulator. Each channel of the preamplifier circuit is a C4S isolated EF86 voltage amplifier direct coupled to 1/2 of a C4S isolated 6DJ8 voltage amplifier, with the passive RIAA equalization network positioned between the two gain stages. Only one output coupling capacitor is in the signal path of each channel - a metallized polypropylene type. Resistors are a combination of high quality metal film, carbon film and carbon composition resistors, each chosen for optimal performance in the intended application. Filter capacitors are overrated for long life. Tube sockets are high quality ceramic with aluminum shields. A ground post is provided for phono cable and turntable grounding.
Performance
Gain is 50dB
Input impedance is 47K ohms
Output impedance is 4K ohms (a preamp of at least 15K input impedance and interconnect cables of 1 meter or less are recommended, naturally we recommend the BeePre 300B Preamp as a perfect match for the abilities of the Eros)
Phase is not inverted
Because of the varying levels of phono cartridges, a S/N ratio figure cannot necessarily tell you how the preamp will behave in your system. The Eros was designed to have 10dB more gain than our Seduction kit, and it may be more suitable for high output moving coil cartridges and moving magnet cartridges with an output level lower than 2.5 mV. We recommend the use of a step up device with the Eros when using low output moving coil cartridges. In the lab we typically measure a noise floor of 0.7Vrms and is dominated by "1/F" noise from the tubes themselves. What this means is you can usually hear a little tube hiss only if you turn your preamp volume up way beyond tolerable listening levels.
We consider this kit to be Skill Level 3. It has a lot of parts, requires stuffing several PC boards and will take some time to complete, probably at least a couple or three evenings. A beginner who wants a challenge and is willing to take their time can complete the kit too. A very thorough assembly manual is included in printable Adobe PDF format on CD ROM. It contains step by step instructions you check off as you go, detailed photographs of the assembly that can be blown up for great detail, and a detailed checkout procedure, along with tips on soldering and tool selection. All the builder needs to supply is solder. You will need a copy of the free Adobe Reader software to use the manual.
Please Note: All of the images have been optimized down to 50% of their original quality.
Eros Phone Pre-Amp

TM Bottlehead Corp
All images, with the exception of the stock ones, are by me
|
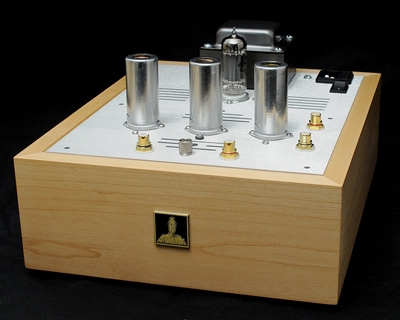
Above is a stock image of the Eros. The biggest visual change from the older model is that the face plate is now brushed aluminum. This is great for the DIYer, since he/she does not need to worry about what type of finish to apply to it since it is beautiful as is.
|
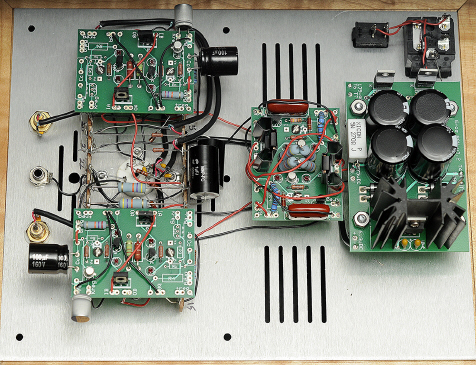
Above is the stock image with all stock components. If you compare this to the one that I built you will see numerous changes. It is suggested that one begin by using the stock parts and then replacing them as once system is up and running, thus you will be able to discern any differences. Sometimes the $1 part works just as well as the $50 part. The only components that I always upgrade are the tube sockets, and the RCA jacks (female.)
|
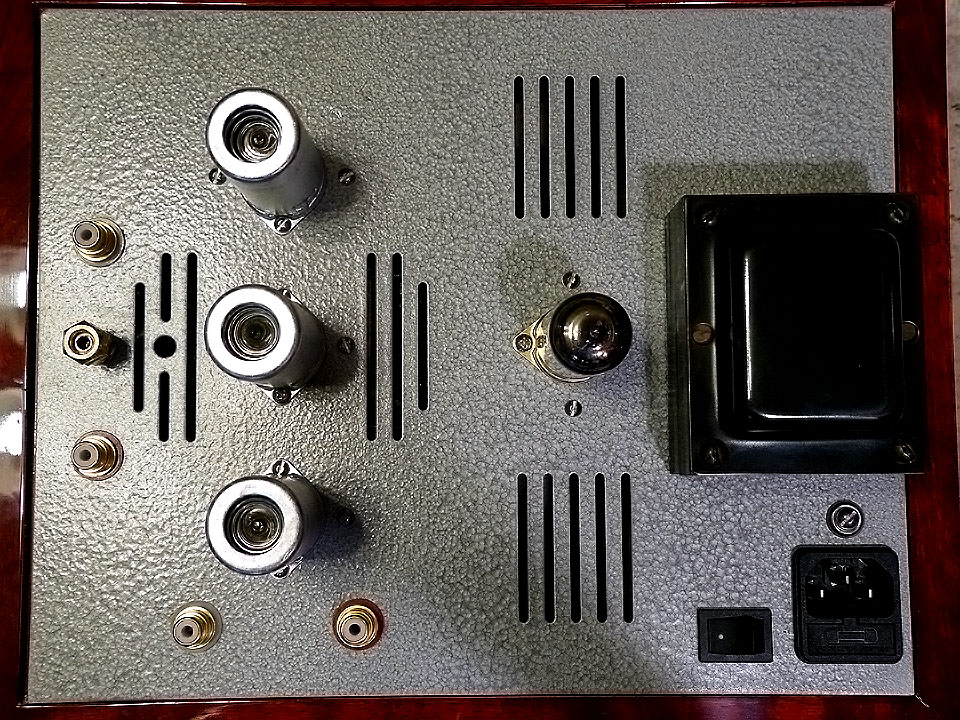
Top view of the Eros that I built. I used Rustoleum Hammer-On spray paint, the stain I described above, and blued the transformer top.
|
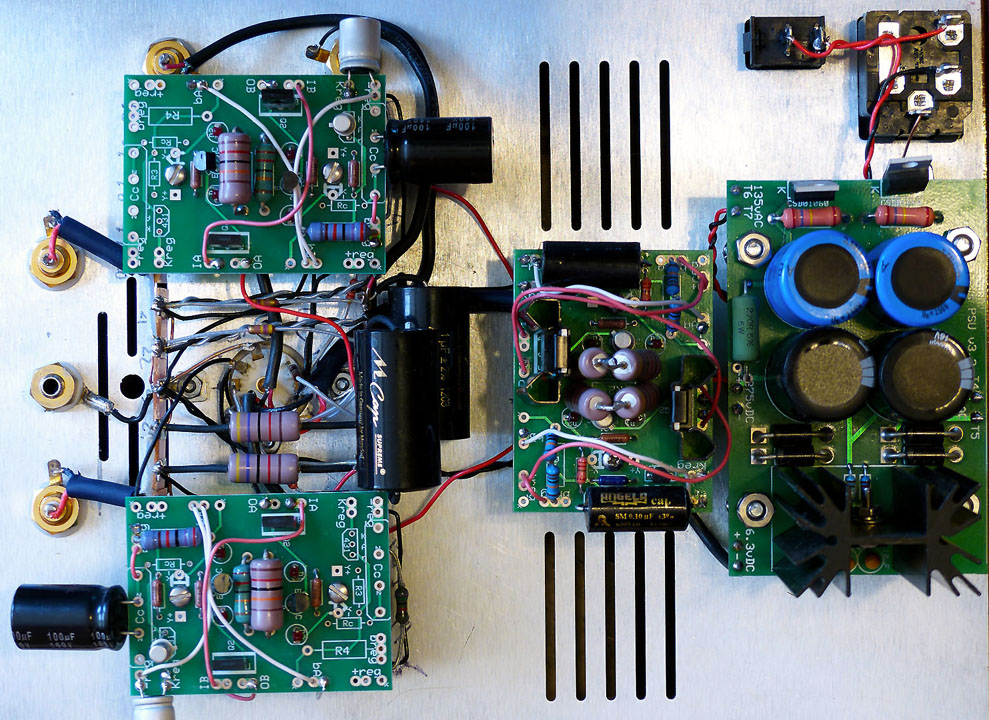
When comparing the above image to the stock image it is easy to see where mods were made. Most noticeable are the resistors, caps, and putting either teflon tubing or heat-shrink over all exposed leads, i.e. resistors and caps.
|
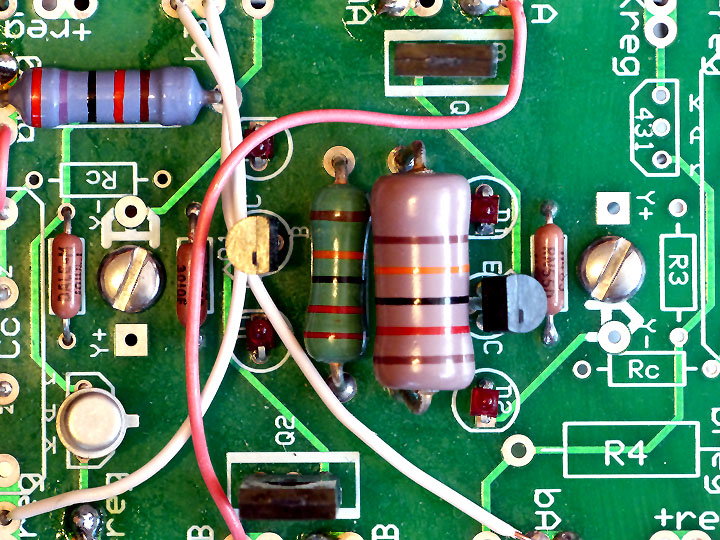
Part of the shunt regulator with modded resistors. |
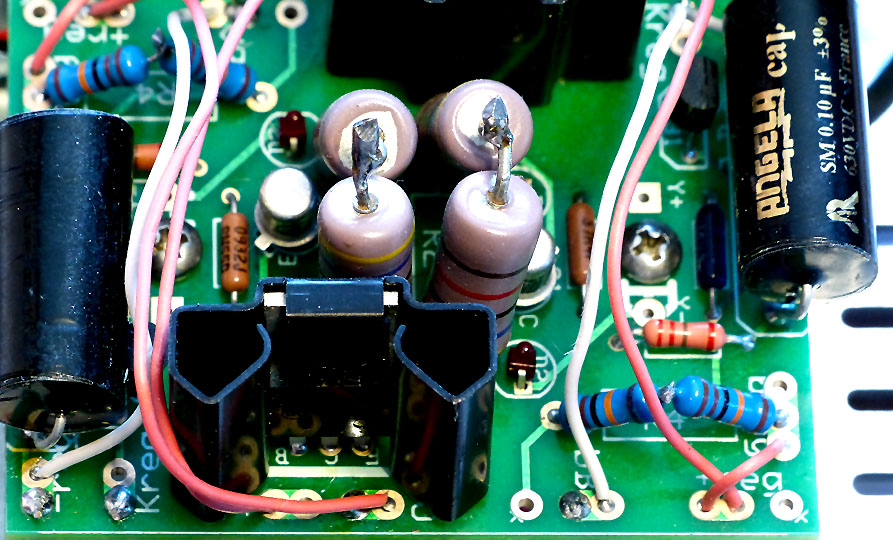
The load/servo PC board. Besides the resistors being modded, I also added some non-polar film capacitors (the Angela caps are made by Solen.) |
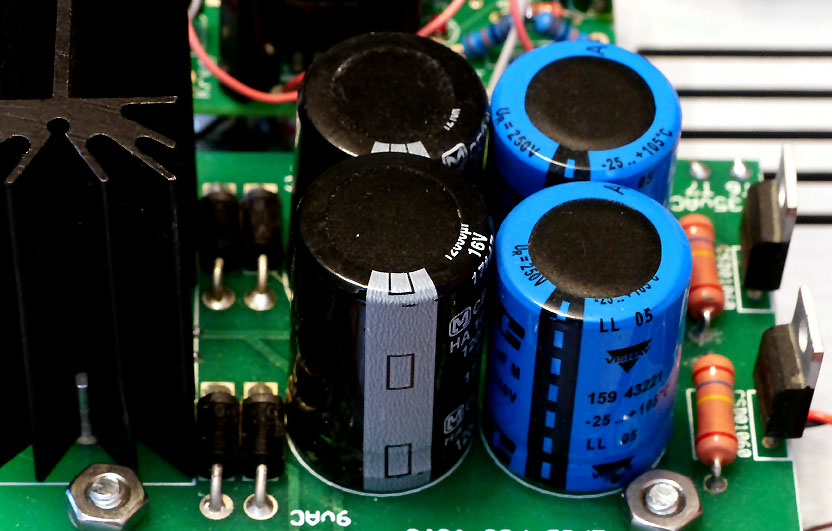
The power supply. I had some Vishay-Dale caps laying around that I used. |
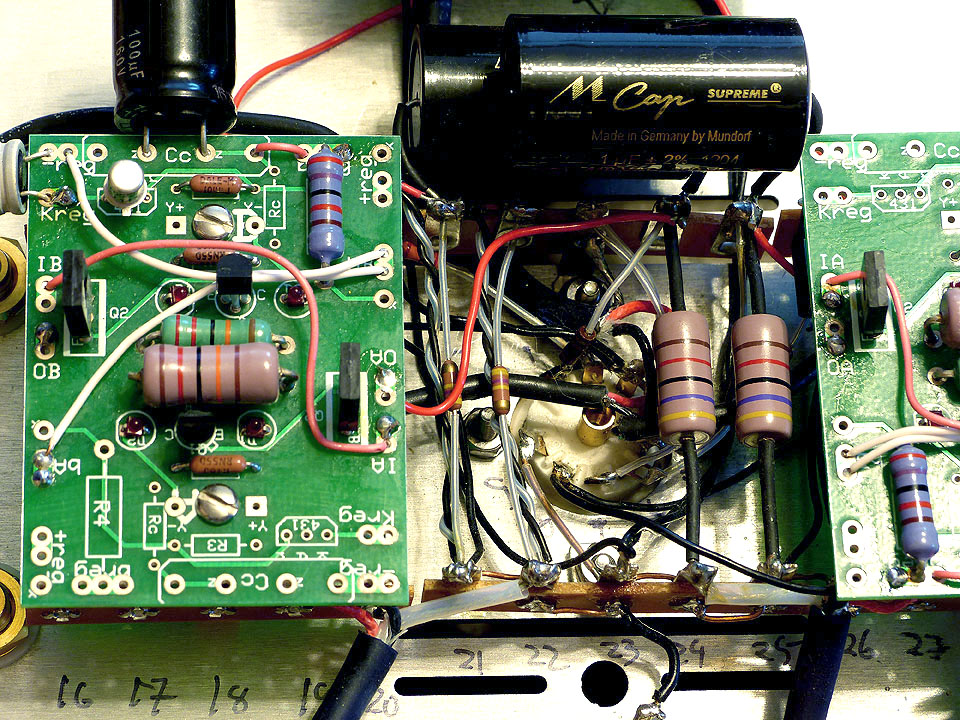
Note the teflon wrappings or heat-shrink on what were exposed surfaces. You can also see flux on many of the soldered joints. All solder joints will be scrubbed with a toothbrush and isopropyl alcohol. This last step is very important to insure a good sound quality, and it just makes the work look so much neater/cleaner.
|
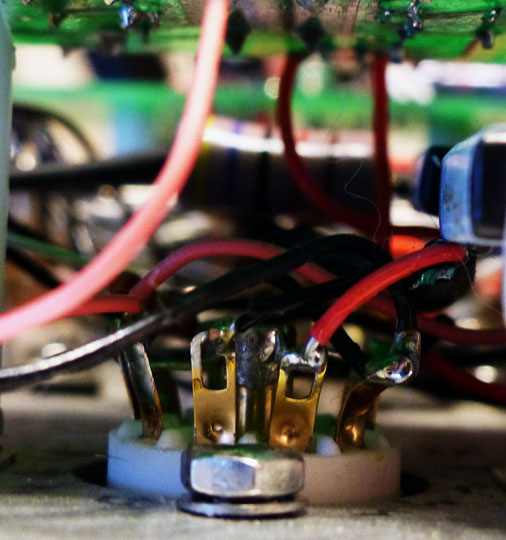
As stated earlier, I replace all of the stock tube sockets with Azuma sockets that I get from Partsconnexion. There are also teflon tube sockets that I may try on my next projects. Notice how some of the tabs on the socket are bent down, this makes it much easier to solder especially when it is in a tight place.
|
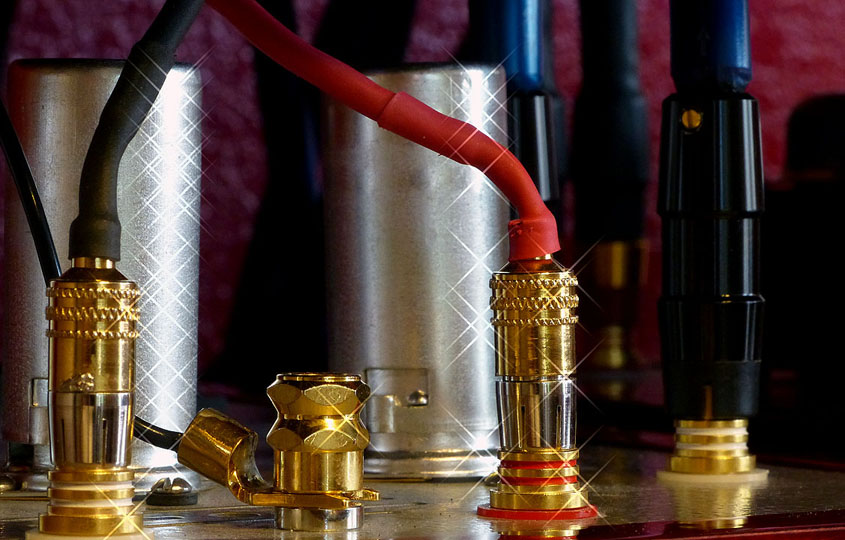
"A Star is Born?"
|
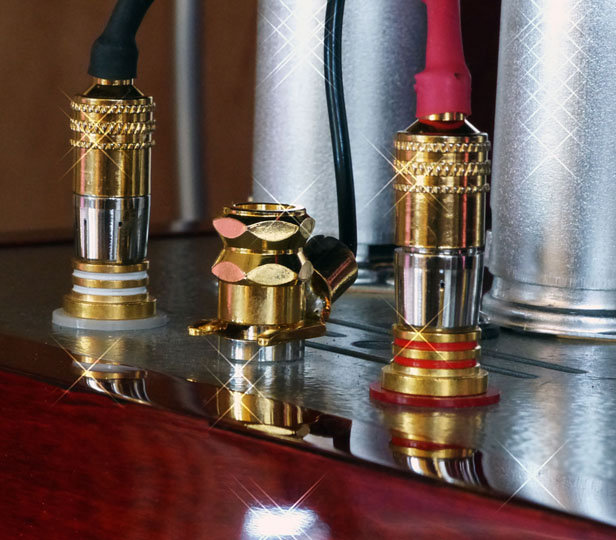
Eros stars again!
|
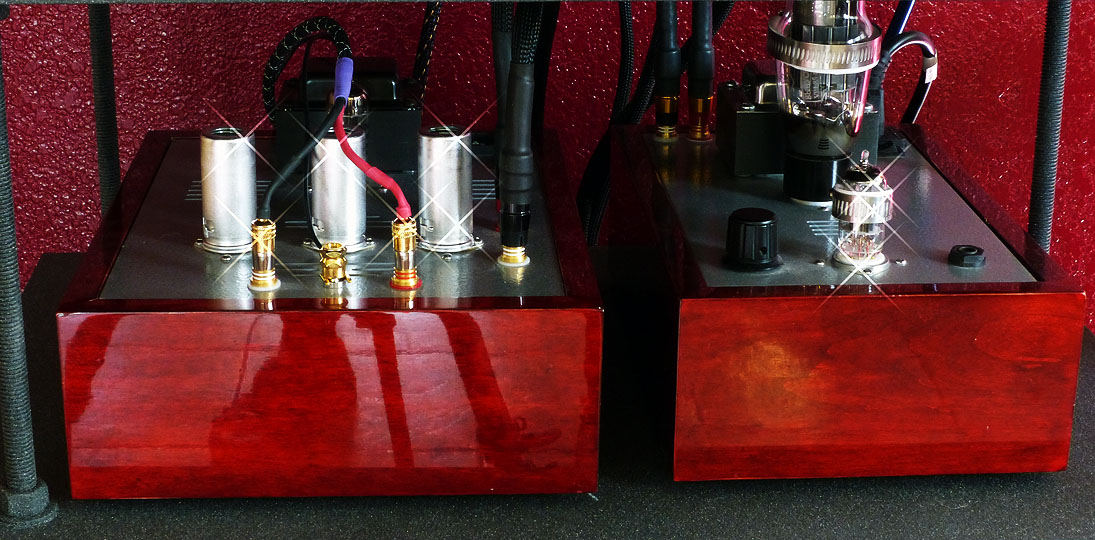
Eros with sister Crack. Pardon all of the white artifacts on the image.
|