|
|
Home | Audio | DIY | Guitar | iPods | Music | Brain/Problem Solving | Links| Site Map
This work is licensed under a Creative Commons License.
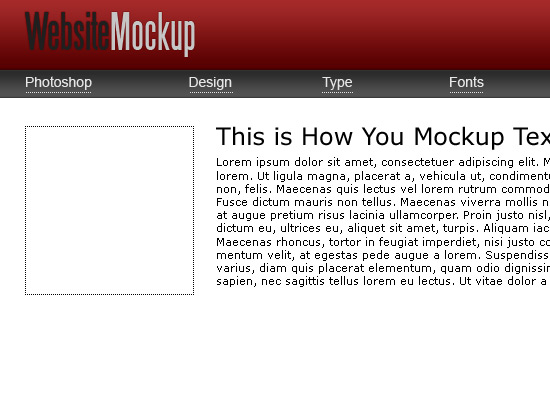
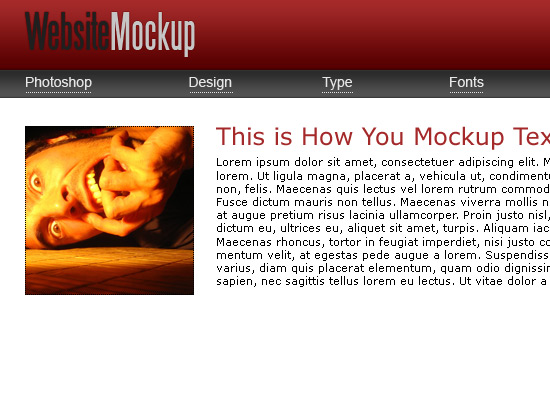
Website Design Mockup Tips
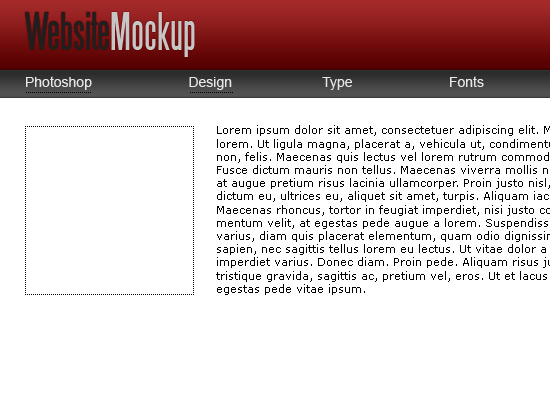
This tutorial will show you a few tips, tricks and techniques you can use when mocking up your next website. When mocking up a website design, there are a few design elements and styles that are really easy to create in code, but may not be as obvious when working in Photoshop.
Borders and Underlines
It's incredibly easy to create dotted (and dashed) underlines and borders with some simple HTML and CSS. Let's start with a dotted underline.
Dotted (and Dashed) Underlines
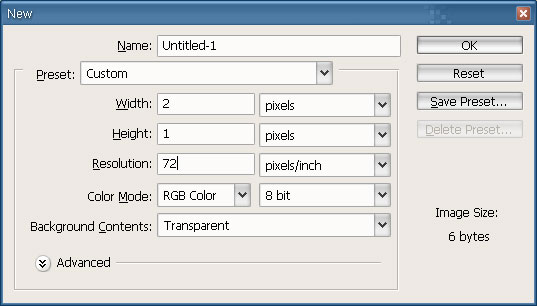
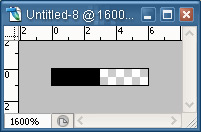
Create a new document 2-pixel wide by 1-pixel height. Make sure the background is set to Transparent.
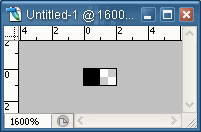
Zoom in as close as possible (1600%) by pressing Ctrl + Alt + =. Draw a 1-pixel dot, using whichever method you prefer.
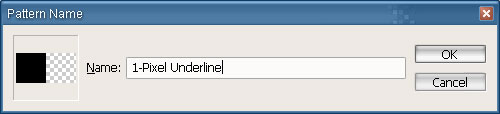
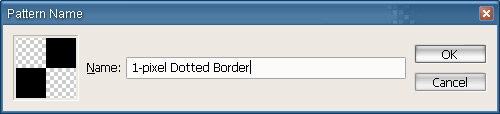
Press Ctrl + A to select all and go to Edit > Define Pattern and give your new pattern a name.
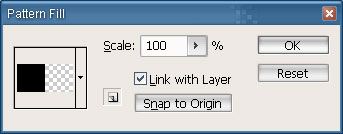
Back to your website mockup, create a new Pattern Fill Layer Layer > New Fill Layer > Pattern... or use the icon at the bottom of the Layers palette F7. Choose your newly created 1-pixel pattern.
Press D to reset your colors and press Ctrl + Backspace to fill your new pattern layer mask with black.
Choose the Line Tool and in the Options Bar select the Fill pixels button.
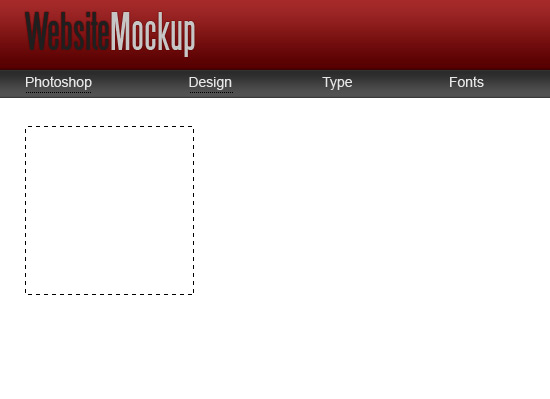
Set your foreground color to white and draw a line wherever you want a dotted underline to appear.
NOTE: Our favorite web-browser Internet Explorer doesn't do dotted underlines, they do dashed. To do a dashed underline, use the same technique but make a 6-pixel wide document with a 3-pixel wide line.
Dotted Borders
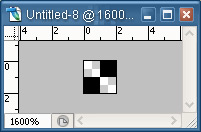
Create a new document 2-pixels by 2-pixels. Zoom in as close as possible and draw two dots on opposing corners.
Select all with Ctrl + A then go to Edit > Define Pattern... naming your pattern something you can remember.
Create a new Pattern Fill Layer and fill the layer mask with black.
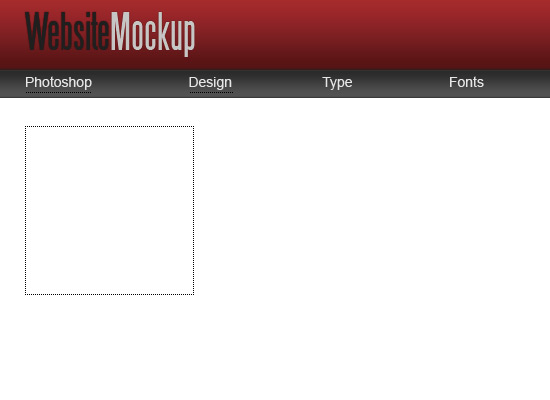
Now you can draw your square-selection wherever you would like your border.
Go to Edit > Stroke and set the Width to 1px. Press OK and you now have your dotted border.
Text and Fonts
Accurately simulating font behavior can be a tricky task. Differences are dependant on the user's machine, browser and settings. One of the hardest feats is determining when a browser is going to apply anti-aliasing to a font on a website.
Luckily for you, I went ahead and created a quick page showing some of the more common fonts in various sizes, so you can see at what size they anti-alias.
My suggestion would be to view this page on a few different machines and browsers so you can accurately determine what settings you need in your mockup.
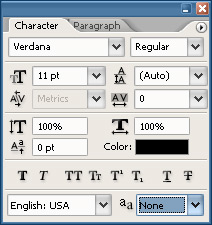
I like the way the 11pt Verdana looks, so that's what I'll use in my mockup. Create a text block by clicking-and-dragging the Text tool T.
Open the Character Palette by going Window > Character. Here's where all of the font settings are. I'll plug-in my settings, making sure that the Anti-aliasing is set to None.
Then I can paste in my text and get a fairly accurate representation of how it will look in living HTML.
Using my handy guide, I'll go ahead and create some header text.
Managing Colors
Fill Layers and Clipping Masks are huge time-savers and some of my favorite features in Photoshop. Let's put these features to use to manage the colors on our mockup.
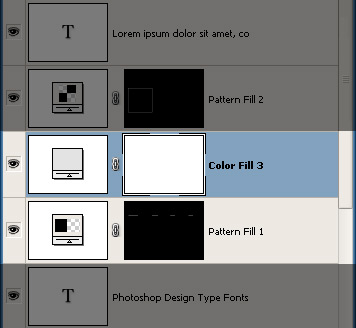
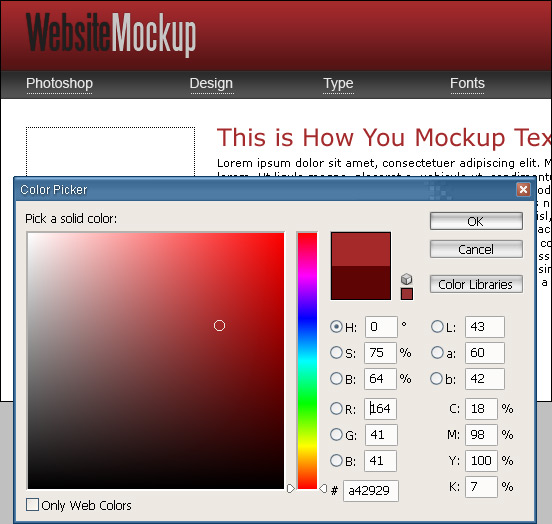
Start by creating a Solid Color Fill Layer by going Layer > New Fill Layer > Solid Color... or using the button at the bottom of the Layers palette. Choose whatever color you want.
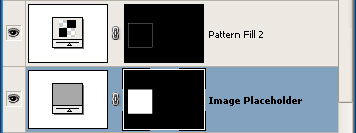
The trick to using Clipping Masks is that the color layer has to be above the layer you want to mask it to in the Layers palette. Like this:
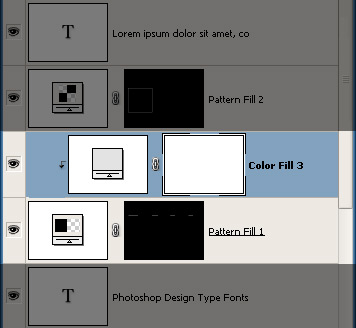
With your color layer selected in the Layers palette press Ctrl + Alt + G or go Layer > Create Clipping Mask. Your color layer will now be shifted to the right with a tiny down arrow.
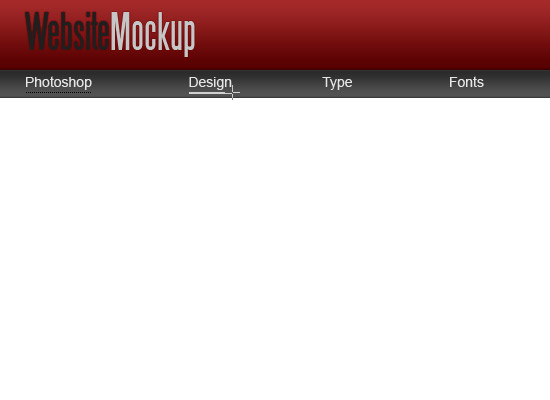
Now your color layer is only shown where the layer it is clipped to has content. Like so (the dotted lines in the nav):
The best part about this technique is how easily you can change the color of an element, just by double-clicking on your Color Fill layer and changing the color.
Image Masking
Another great thing about Clipping Masks is that you can use them for more than just text layers, you can use them on any layer really.
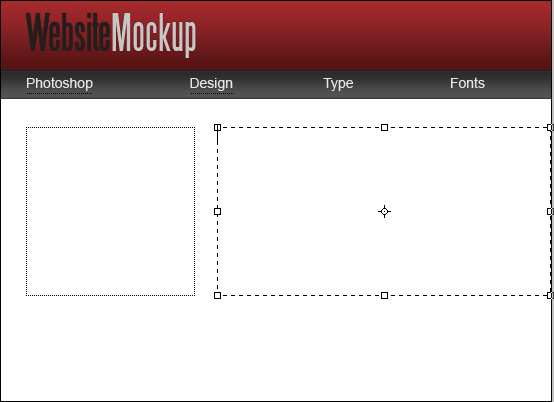
I'm going to add an image into that dotted square, but at this moment, I'm not exactly sure what image. So, I'll create another Solid Color Fill layer and name it something like "Image Placeholder".
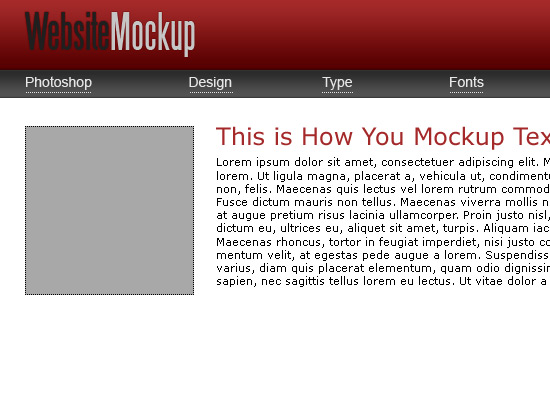
Now I can drag any image onto a layer above my "Image Placeholder" layer and apply a clipping mask. You can even stack the "clipped" layers.
Home | Audio | DIY | Guitar | iPods | Music | Links | Site Map | Contact
![]()