|
|
Home | Audio | DIY | Guitar | iPods | Music | Brain/Problem Solving | Links| Site Map
This work is licensed under a Creative Commons License.
Create a Professional Website Layout
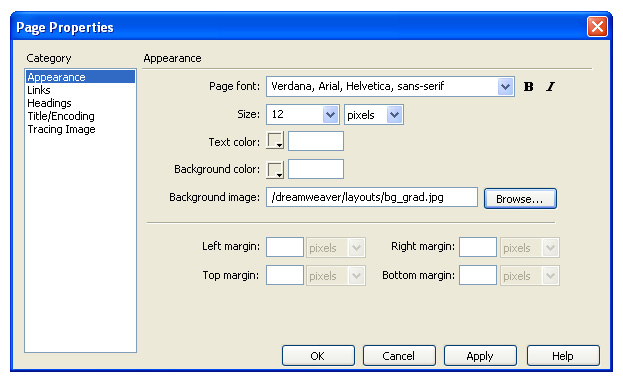
Create a new html document in dreamweaver, go to your Page Properties, choose these options for your Appearance.Our
background image is a gradient going from dark gray to a lighter gray.
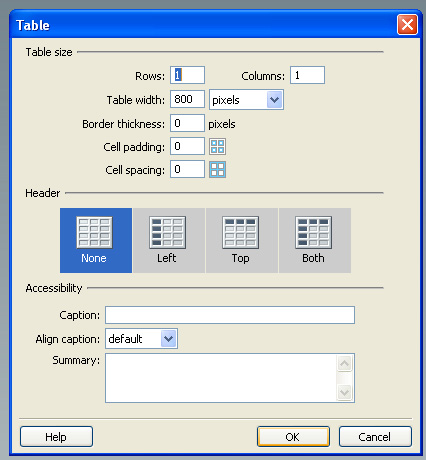
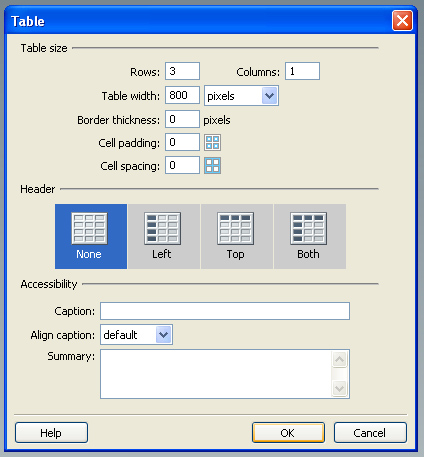
Create a table (insert>table) use these options:
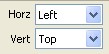
Center your table, Align > Center.
We are going to give our table a background gradient and give it a height of 33 pixels (the height of gradient).
You should now have this:
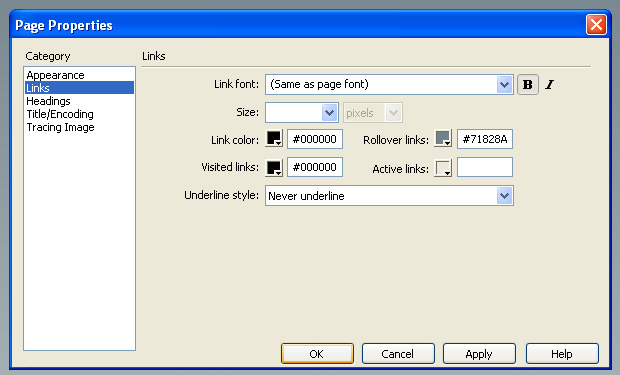
Now in our table we are going to put our links to our different pages, once we have done this we are going to go to our Page Properties and customise these links, use these options:
To link our text to a page go to your Properties and type in the url.
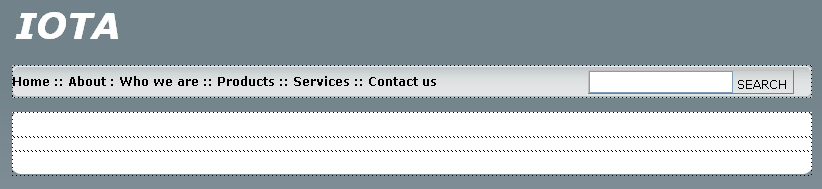
You should now have this:
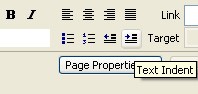
We are now going to put some text above our navigation bar, we are going to indent the page, you can do this from your Properties panel.
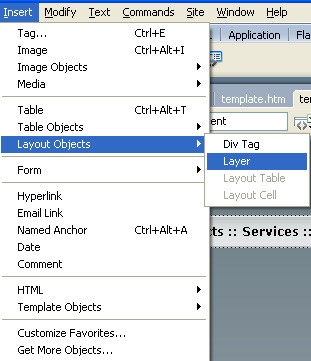
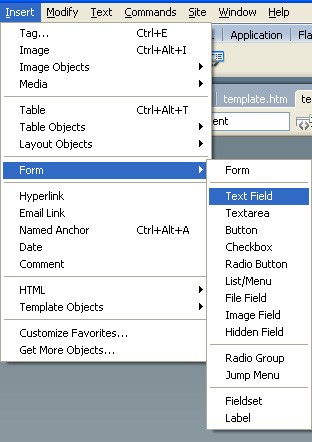
Next we are going to insert a layer, Insert > Layout Objects > Layer.Inside
the layer we are going to put a text field, Insert > Form > Text Field.
You will now have this:
Under our navigation bar we are going to put in another table, with these options:
Our table is going to have curved edge's, for the first row we are going to give it a background image with curved edges at the top and give it a hight of 25 pixels. We are going to repeat this for the third row but the image will have curves at the bottom instead of the top. The middle row will have a white background.You
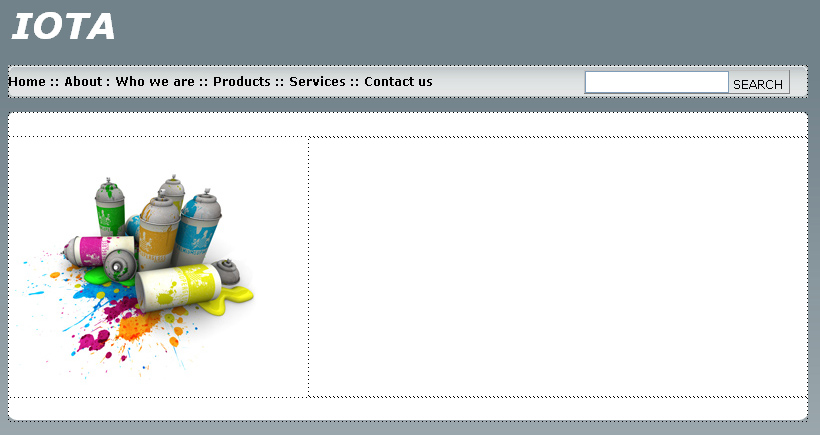
You should now have this:
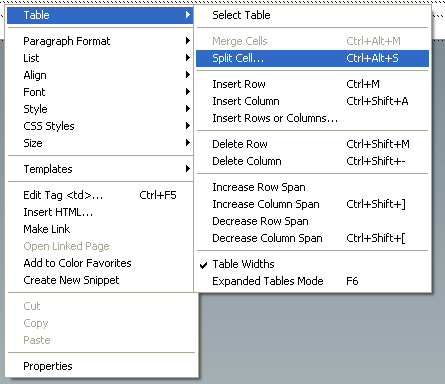
Right click in the middle row and go Table > Split Cell...
Choose to split it into two columns.
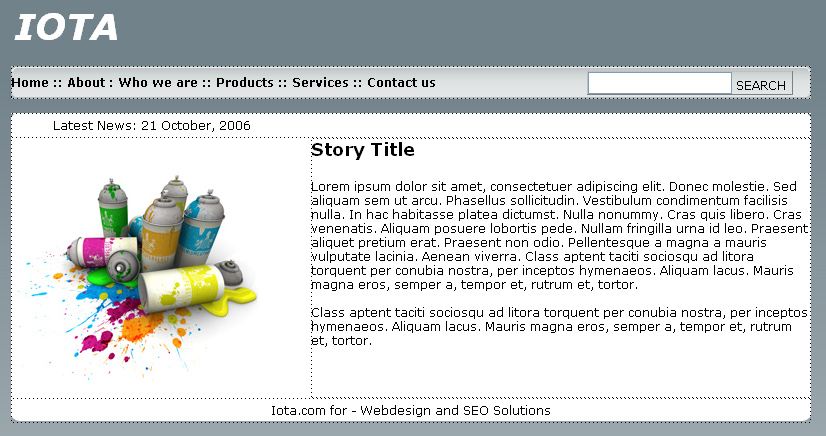
In the left column we are going to put our image (Insert>Image).
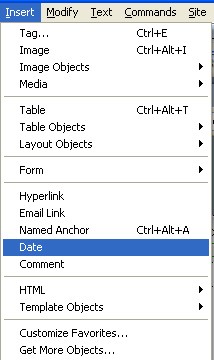
In the first row we are going to put the date (Latest News: "Date")
Click inside the second row, right column and go to your properties panel and choose these options:
Inside that column put some content, you should now have this:
Tutorial Complete.
Home | Audio | DIY | Guitar | iPods | Music | Links | Site Map | Contact
![]()