|
|
Home | Audio | DIY | Guitar | iPods | Music | Brain/Problem Solving | Links| Site Map
This work is licensed under a Creative Commons License.
Consistent Web Design with Dreamweaver Templates
Templates are a fantastic time-saving tool. They allow you to create pages that share the same design but contain different content. If you modify a template document, you immediately update the design of all pages that were created from that template. Although first introduced in Dreamweaver 2.0, templates in later versions of Dreamweaver now make it possible for web developers (that is, template authors) to set up sophisticated rules for web site contributors so that they can add content to a site without any fear of compromising the site's design.
Dreamweaver templates are a special type of document that can be used to add structure and layout to a page. They enable you to ensure that all pages are rendered correctly in a variety of web browsers, such Microsoft Internet Explorer and Netscape Navigator. Designers and template authors now have tools to lock a page's layout, leaving unlocked areas ("editable regions") for content contributors to add their material.
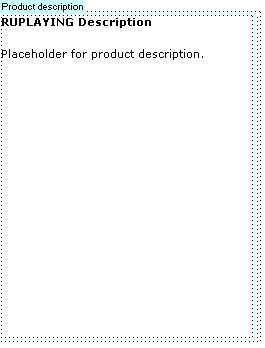
Below you can see an example of an editable (left) and a locked (right) region:
Beginning with Dreameaver MX, template features give you complete control over a page's layout and content, which means you can define optional content, set up repeating regions, and define nested templates. I cover each of these topics below.
Defining Optional Regions
Using optional regions, you can define a section of the page that will or will not be shown, depending on what the content contributor decides. Optional regions are controlled by a conditional statement; the template tab of an optional region is preceded by the word "if." You create template parameters and expressions in the Optional Region dialog box or by typing parameters and conditional statements in Code view:
For example, suppose a fictitious online toy company called RU Playing wants to introduce a new range of action figures called Hoolibots. Each of the three figures shares the same page design but only one image is displayed on each of the pages.
Using an optional region, the template author can insert all three images on the template page and then let the content contributor control which of the actions figures is shown on each of the pages that is based upon this template.
Here's how you create an optional region:
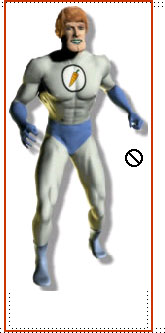
- In the document window select the element you want to set as an optional region. Below I have selected the action figure called Captain Carrot:
- Do one of the following:
- Choose the Common toolbar set. Click the Templates menu and select Optional Region.
- Choose Insert > Template Objects > Optional Regions.
- Right-click the image (Control-click for Macintosh) and in the context menu select Templates > New Optional Region.
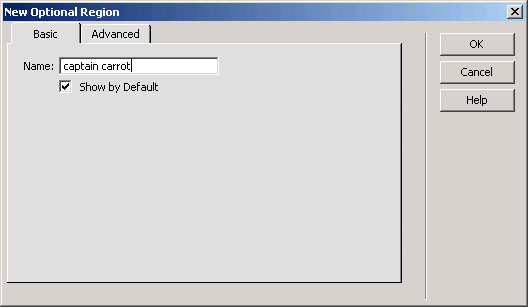
- In the dialog box that now appears give the optional region a name. I've called mine "captain carrot."
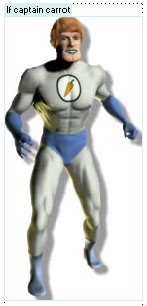
- Click the OK button. Your optional region should now look something like the screenshot show below.
As you can see from the image below, the region tab includes the word "if," which denotes that this is an optional region:
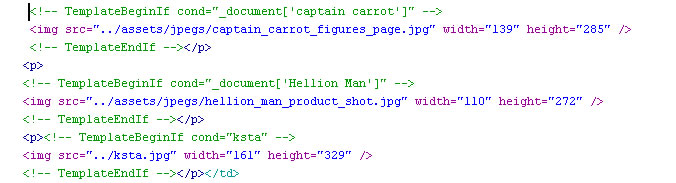
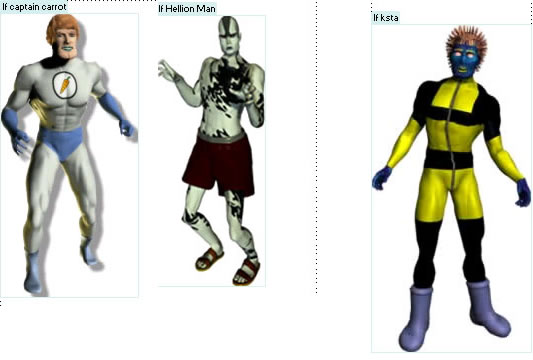
- I have added two more images to the cell of this table, as shown below:
- Finally, save your template. I have called mine "ru_products.dwt."
Working with an Optional Region
Having created a new page based on a template that contains a number of optional regions, content contributors can use the Template Properties dialog box to select which of the three images should be displayed on that page.
- Create a new HTML document from your ru_products.dwt template.
- In the document window, choose Modify > Template Properties.
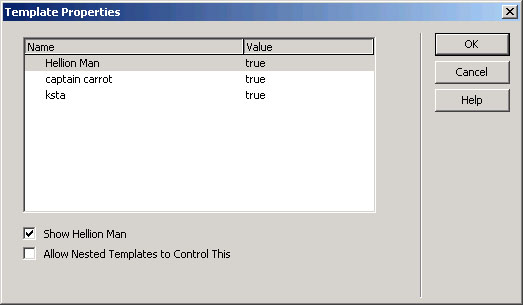
The word "true" appears in the Value column next to each of the images. This means that each image is currently visible on the page.
- In this example I only want to display the image Ksta, so I'll uncheck the Show Hellion Man option and do the same for Captain Carrot.
This changes the value of these two images to false, which prevents the document from displaying them.
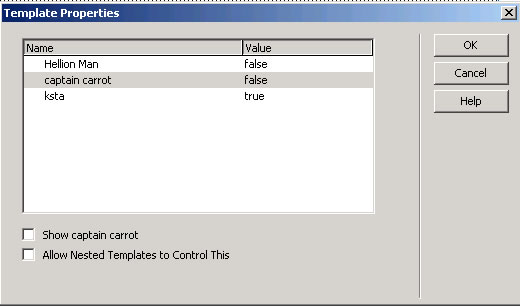
The new document (see the screen shot below) now shows only Ksta:

Modifying an Optional Region
After you have inserted an optional region into the template, you can still edit its settings:
- Open the template (DWT) file.
- Open the Property inspector.
- In the document window do one of the following to modify the underlying code:
- In Design view, click the template tab of the editable region you want to modify.
- In Design view, click the content in the template region, and then in the tag selector click the template tag, "mmtemplate:if>."
- In Code view, click the comment tag of the template region you want to modify.
- In the Property inspector, click Edit to open the New Optional Region dialog box:
- Make your changes, such as altering the name of the optional region, and click the OK button.
Creating a Repeating Region in a Template
Dreamweaver lets template authors create a section of a template that content contributors can easily duplicate. Although you can define many page elements as repeating regions, you typically use this feature with tables.
In my example, I use a repeating table to construct a data table that stores customer comments. Rather than having to guess how many comments will be present in the final table, you can just create enough table rows to finalize the design. The content contributor can then create a new page based upon this template and add as many rows as needed.
There are two templates tools that you can use to duplicate page elements:
- Repeating region
- Repeating table
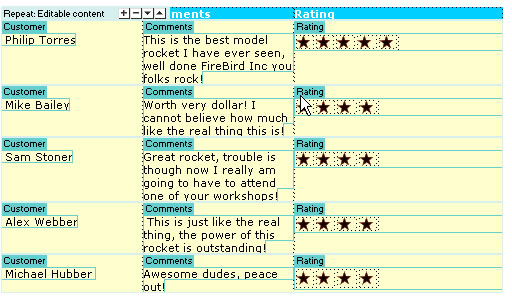
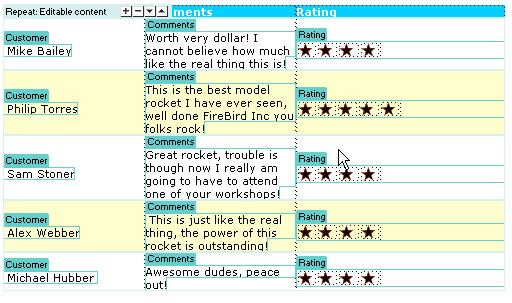
For the purpose of this exercise, I'll concentrate on creating a table of customer comments for the RU Playing rocket, called the Cassandra V10. This screen shows how the completed repeating table looks:
Here's how you create it:
- Create a new HTML Template by selecting File > New. Make sure that Basic Page is selected under Category, select HTML Template, and click OK.
- Save this page and give a title.
- Place the insertion point in the document where you want to insert the repeating table and then do one of the following to bring up the Insert Repeating Table dialog box:
- In the Templates category of the Insert panel, click the Repeating Table button.
- Choose Insert > Template Objects > New Repeating Table.
- Right-click (Control-click for Macintosh) the selected content and choose New Repeating Table from the context menu.
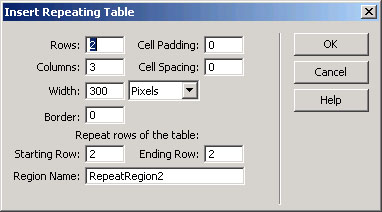
- In the Starting Row text field, enter 2. This is the first row that will be repeatable.
- In the Ending Row field, also enter 2. This meansthat the repeating table initially will just haveone repeatable row, as shown below. Content contributorswill create additional rows as necessary.
- Give each of the editable regions a descriptive title. Open the Property inspector, clicking the first editable region, and change the name to Customer.
- Do the same for the other two editable regions by calling them Comments and Rating.
- Save the document.
Creating a New Page Based upon a Template
Once you've created a template, it's easy to create new pages based on it:
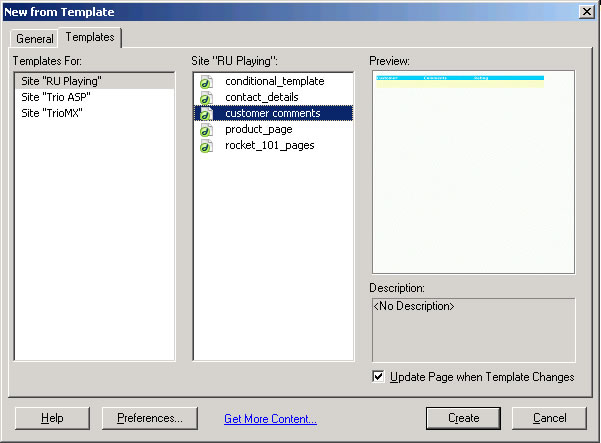
- Choose File > New.
- In the New Documents dialog box click on the Templates tab.
- In the first pane select the site that contains the relevant template. (In this case I will select the RU Playing site.)
- In the middle pane select the desired template. (I have selected Customer Comments.) A preview of the template can be seen in the third pane.
- Make sure the Update Page When Template Changes option is selected and then click the OK button.
Dreamweaver creates a new page based upon the templateand looks something like the following:

- Click inside the editable region called "Customer" and enter the first customer's name, Mike Bailey.
- Now do the same for the other editable regions, "Comments" and "Rating."
Here's how you can move the rows around:
- To add a new row, click the plus (+) button on theRepeat tab:
- To remove a row, position the cursor in the row youwant to delete and click the minus button.
- To move a row up, position the cursor in the row youwant to move and click the up-arrow button.
- To move a row down, position the cursor in the rowyou want to move down and click the down-arrow button.
Applying Alternative Background Colors in a Repeating Region
When you create a repeating table, all new rows inherit the same background color by default. With a small amount of hand coding, you can alternate these colors. In this example I use the following technique to alternate customer comments in the data table between white (hex value FFFFFF) and pale yellow (hex value FFFFCC) This results in the following customer comments data table:
To alternate row colors:
- Open the template file you want to modify. In this case, I have opened the template called "customer comments.dwt."
- Click the Show Code View button or show the Code Inspector (by choosing Windows > Others > Code Inspector or pressing F10).
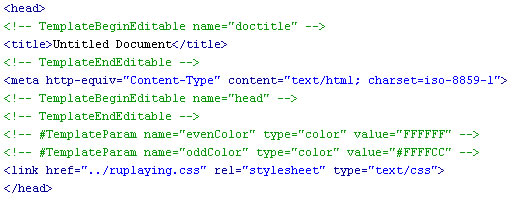
- In the HEAD section of your document add the following:
<!-- #TemplateParam name="evenColor" type="color" value="FFFFFF" -->
<!-- #TemplateParam name="oddColor" type="color" value="#FFFFCC" -->
This results in the HEAD section looking something like this:
Next, select the first repeating row in your table:
- While still in Code View, locate the following line of code:
<!-- TemplateBeginRepeat name="Editable content" -->
- Underneath this you will find the <tr> tag (for table row).
- Select this and delete it.
- Replace it with the following code:
<tr bgcolor="@@((_index & 1) ? oddColor : evenColor )@@">
Your completed code should now look something like this.
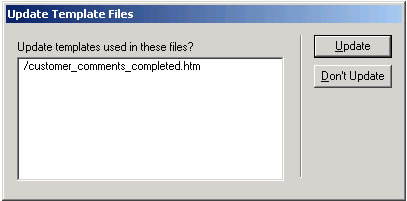
When you save your amended template (using File > Save), Dreamweaver will prompt you in case you want to updateany pages that are based upon that template:
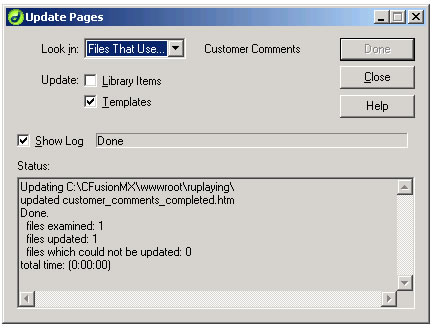
Clicking the Update button then displays the Update Pages dialog box, shown below. Once updating is completed, the log will indicate how many pages were examined, how many pages were updated, and how many pages could not be updated.
If you now open a document that's based upon the template, you'll see that the background colors have been applied to your table rows. Try adding a couple of new rows. The first one will be white and the second one will be pale yellow.
Creating Nested Templates
A nested template is a template whose design is based on another template. By creating nested templates, you can control content in pages that share the same layout but have a few subtle design variations. In this example you will create a nested template based on an existing page layout from RU Playing's rocket club.
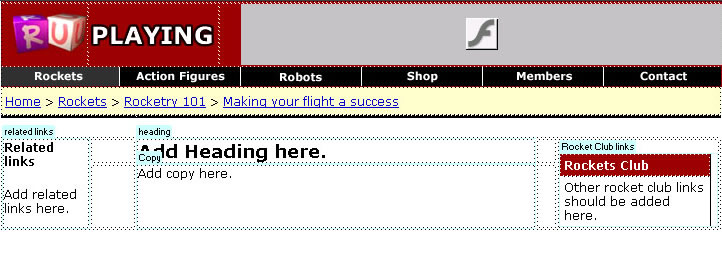
Below is a screen shot of the current template:
To construct a nested template:
- Choose File > New and click on the Templates tab in the New document dialog box.
- In the Templates panel, select a site. (Again, I have selected the RU Playing site followed by the name of the existing template, "Rocketry 101.")
- Click the Create button.
- In the Common toolbar of the Insert panel, clickthe Make Nested Template button on the Insert panel to save the page as a nested template:
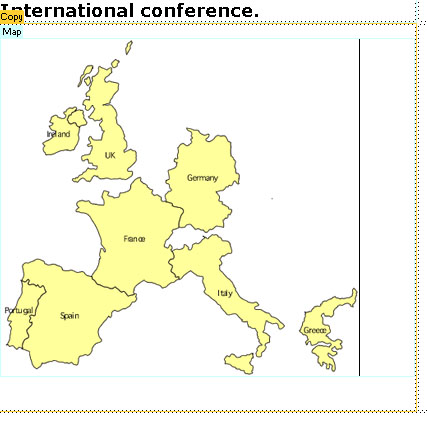
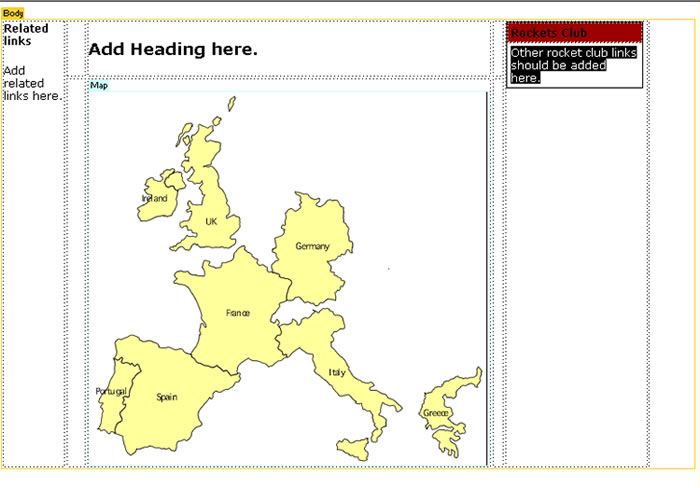
Alternatively, you can choose File > Save as Template.- Add something in the new template. In this case, I'll add a new table that contains a map of Europe and add a new editable region called "Map."
- Save the template. (I've called mine "Conference_layout.")
Your nested template should now look something like theimage below. The orange region indicates that you have createdan editable nested region, inside of which is the new editable region called "Map." This tells you that only the region "Map" will be editable in any new pages you create from this nested template.
To change the region color from the default orange, choose Preferences > Highlighting and click on the appropriate color box (Nested Editable) to reveal the color palette. Using the eyedropper tool, select the new color and then click OK to close the Preferences dialog box. The new color will be applied immediately to both your templates and any pages that are based upon it.
Dreamweaver templates are an incredibly powerful feature for creating and managing consistent web designs and styles across large websites. Site designs can be created in templates and then propagated throughout the website, ensuring that all pages meet the style guides set down by the webmaster. As you have seen, the Dreamweaver templating architecture makes creating templates and managing pages based upon templates a breeze.
About the author
Mark Fletcher is one of the most experienced authors at the Virtual Training Company, where he specializes in creating training CDs and online tutorials on Macromedia products, such as UltraDev, Fireworks, HomeSite, Sitespring, and Dreamweaver, including Dreamweaver MX Fundamentals and Dreamweaver MX Web Applications. Mark also develops online tutorials for WebAssist.com, a Dreamweaver and UltraDev extension developer.
Home | Audio | DIY | Guitar | iPods | Music | Links | Site Map | Contact
![]()