|
|
Home | Audio | DIY | Guitar | iPods | Music | Brain/Problem Solving | Links| Site Map
This work is licensed under a Creative Commons License.
Web 2.0 is a term coined by O'Reilly describing the new trends in design and development appearing across a flood of innovative websites. This tutorial will show you how to create some of the more popular "Web 2.0" design effects using Photoshop.
Gradients
The reflective or glass effect was first popularized by Apple. There have been many tutorials about creating Apple's "Aqua Buttons" and this is a similar effect.
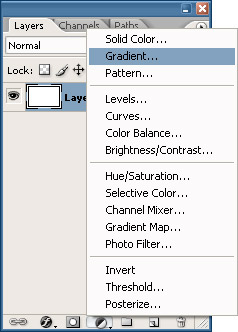
After making your selection, create a new Gradient Fill Layer Layer > New Fill Layer > Gradient... or use the Fill Layer button at the bottom of your Layers palette.
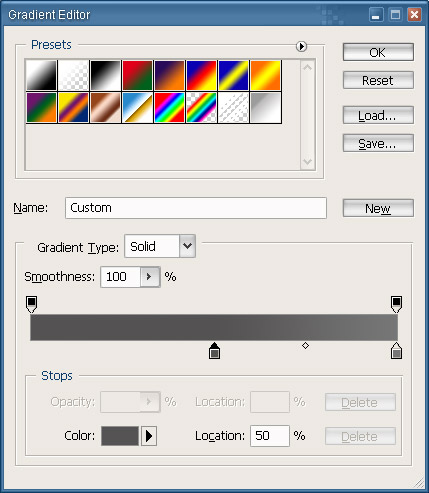
Click on the Gradient to bring up the Gradient Editor. Select the "Foreground to Background" preset from the list of presets. Click on the first Stop on the left and set the Location to 50%. Then set the color to something a little darker than your base color. I'm going to use greys because it leaves me some flexibility for changing the color later.
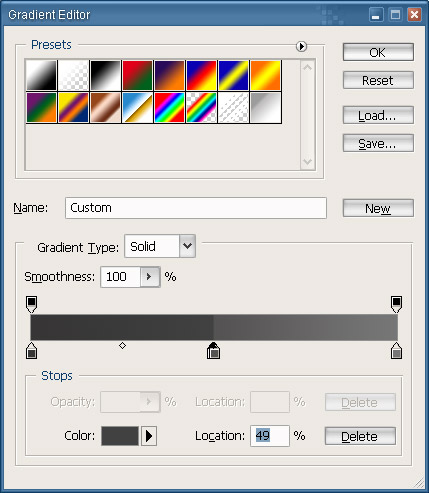
Create another Stop to the left of the gradient and set the Location to 49%. Set the color to something slighter darker than the 50% Stop. Create another Stop at Location 0% and make it slightly darker than the Stop at 49%.
Press OK and you now have your gradient.
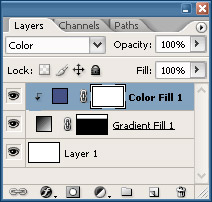
To add some color, create a new Solid Color Fill Layer Layer > New Fill Layer > Solid Color... or, again, use the button at the bottom of the Layers palette and select a color for the gradient. Press Ctrl + Alt + G or Layer > Create Clipping Mask to create a clipping mask of your new layer. Scroll through the Layer Modes Shift + - until you find one that you like.
Reflections
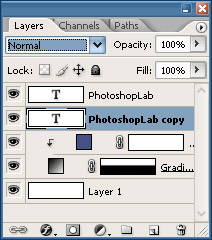
Reflections have become a huge trend for website design lately. We'll first start by selectin the Type Tool T and entering the type we want to reflect.
Duplicate that text layer by pressing Ctrl + J. Drag the duplicated layer below your original in the Layers Palette. Right click on the duplicate layer in the palette and choose Rasterize Type.
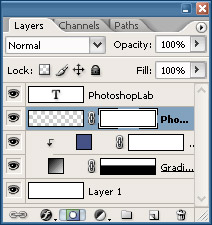
With the duplicate layer chosen in the Layers Palette, press Ctrl + T to bring up the Free Transform. Right click in the transform binding box and choose Flip Vertical. Drag your flipped layer so that the bottoms match.
Add a Layer Mask by click on the button at the bottom of the Layers Palette or by going Layer > Layer Mask > Reveal All.
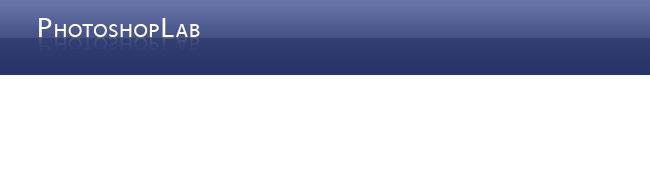
Press D to reset your colors and then press G to select the Gradient Tool. With the layer mask selected in the Layers Palette, which it should be already, drag from top-to-bottom with the Gradient Tool until you get the fade you desire.
You now have your type reflection. You can use the same method for any object also.
Soft Shadows
Another popular effect is the soft shadow. It's actually more of a glow than a shadow, so we will approach creating the effect this way.
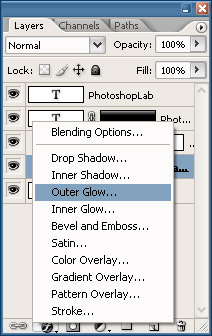
Select the layer of the object you want to add the shadow to, in my case it's the gradient layer I created before, and click on the Add New Layer Style button (at the bottom of the Layers Palette) and choose Outer Glow.
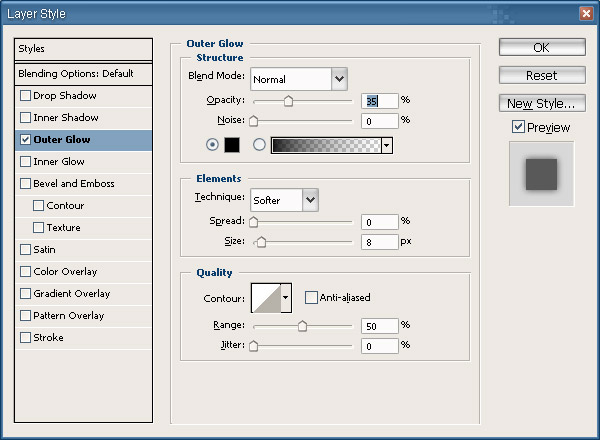
Set the Blend Mode to Normal;
Color to Black or 000000;
Size to something like 8, and
Opacity to 35-40%.
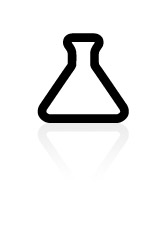
You will now have a soft shadow that should look similar to this:
Star Shapes (Violators)
Another trend popping up is the star shapes or violator (thanks comment-er) for getting attention.
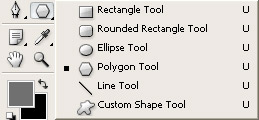
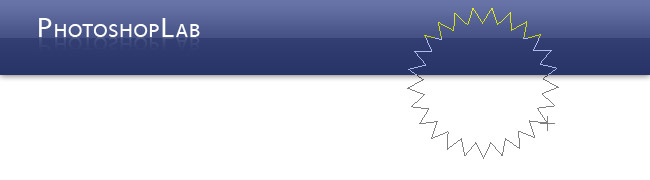
Click and hold on the Shape Tool until the sub-menu opens and choose the Polygon Tool.
Create a new Solid Color Fill Layer and choose whatever color you want your shape to be. Press D then Ctrl + Backspace to fill the layer mask with black.
Up in the Options Bar, click on the down-facing arrow to bring up your Shape Options. For my shape I checked the Star checkbox on and set the Indent Sides By to 20%. In the Options Bar I checked Anti-alias on and set the Sides to 20.
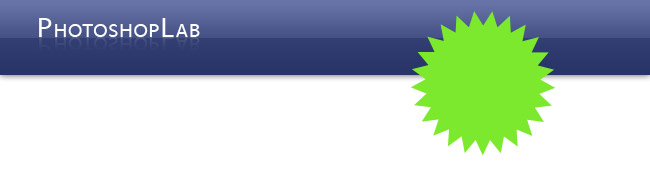
Now I'm ready to draw out my star:
To style it a little more, I used a Gradient Fill Layer instead of a solid color and I added a tight Drop Shadow Layer Style, settings: Opacity 60%, Distance 1px and Size 2px.
Diagonal Line Patterns
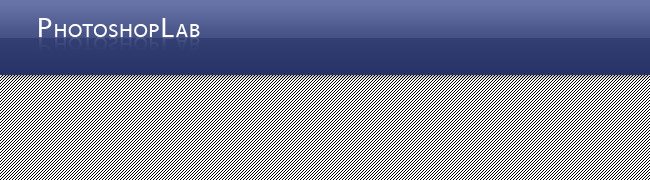
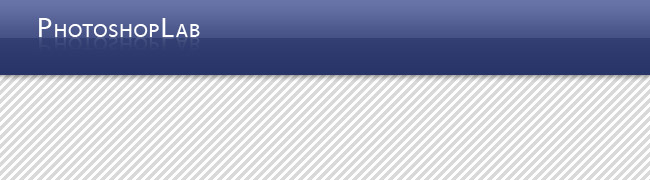
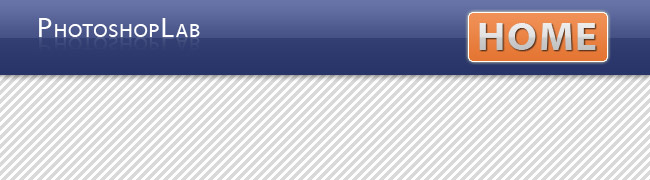
There are a lot of websites out there that use some sort of variation of a diagonal pattern. One of them being this website (look up) and a few other sites. The hardest part of this is creating the actual pattern.
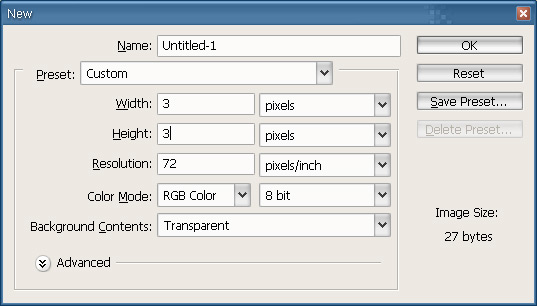
The first thing you'll want to do is create a new document by going to File > New or pressing Ctrl + N. When the New Document dialog opens, set the Background Contents to Transparent. The dimensions settings will depend on the size of the line you want to create and the amount of space between the lines. For this first example I'll just be using 1-pixel wide lines spaced 1-pixel apart, so my dimensions will only have to be 3px x 3px.
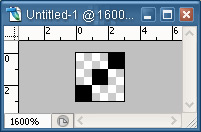
Since my document is so tiny I'm going to zoom in as close as possible, 1600%, by pressing Ctrl + =. Using the Pencil Tool with a Brush Size of 1, I'll draw three dots in a diagonal.
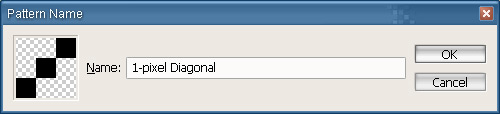
Select All by pressing Ctrl + A and go to Edit > Define Pattern.... You can then name your pattern in the Pattern Name dialog box.
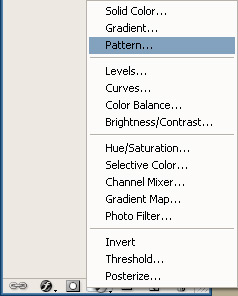
Your new pattern is now ready to use. Create a new Pattern Fill Layer by going Layer > New Fill Layer > Pattern or by using the button on the bottom of the Layers palette.
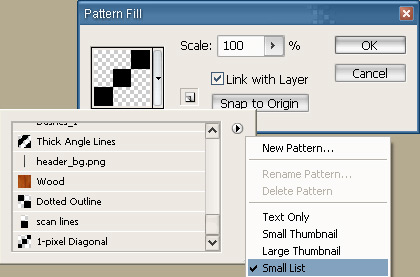
You can click on the down arrow next to the current pattern, if your new one isn't selected, to find your pattern. Click on the small right-facing arrow and choose "Small List" to see the names of your patterns.
Press OK to finish the new Pattern Fill layer. You'll now have your diagonal pattern.
It's pretty ugly right now, so I'm going to drop the Opacity of the new layer to around 15%.
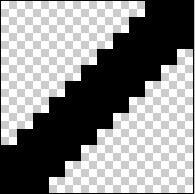
To create a thicker line pattern we'll have to determine our size and spacing then create a new layer. I'm going for 4-pixels wide spaced 4-pixels apart, so I'll create a new document Ctrl + N 12px x 12px. Select the Line Tool and set the options in the Options bar to Fill pixels, Weight 4px, and Anti-alias unchecked.
Draw your line diagonally holding the Shift key to make sure it's completely diagonal. Then zoom in really close again.
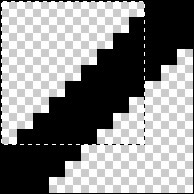
Select the Square Marquee tool M and draw a 7px x 7px square and drag the corner to the line like shown:
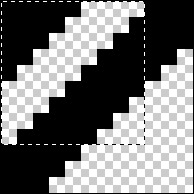
Press Ctrl + J to duplicate the selection onto its own new layer. Drag that new layer to the corner. Then make another square selection starting in the corner like shown:
That selection is going to be the new pattern, so, go to Edit > Define Pattern and follow the steps from before.
Rounded Corners
Rounded corners are nothing new in web design. It became trendy then died down a little bit, I think, because it's hard to program for (I'm a web developer), but with some new solutions popping up, they're becoming easier to deal with.
This method will show you how to create smooth rounded corners that can be fine-tuned. A little more flexible and technical than just going Select > Modify > Smooth or using the Rounded Rectangle Shape tool.
Starting with a square or rectangle selection, create a new Solid Color (or Gradient) Fill Layer, making sure your selection is smaller than your canvas.
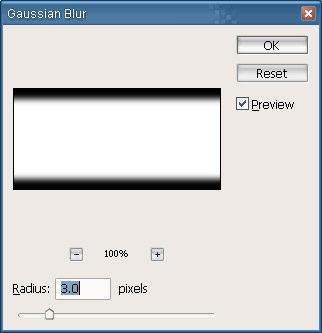
Now we'll add a small Gaussian Blur by going Filter > Blur > Gaussian Blur. Setting the blur higher will make a more rounded corner; lower setting for a smaller corner. A good average is usually 3.0 pixels.
Now we can use two methods to finish our corners, Curves or Levels, so I'll show you both. Personally, I like using Curves, so I'll show you that method first.
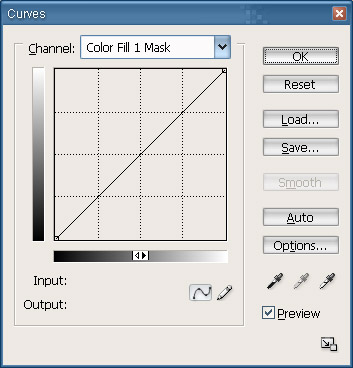
Bring up the Curves dialog box by pressing Ctrl + M.
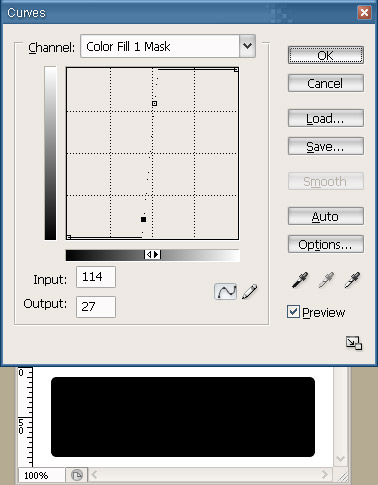
Click on the Curves line to create an adjustment point. Add a point to the upper end of the line and drag it towards the middle. Do the same with the lower end of the line. Adjust the points until you see your blur start to sharpen and your rounded corners appear. Use the image below for reference.
You now have rounded corners.
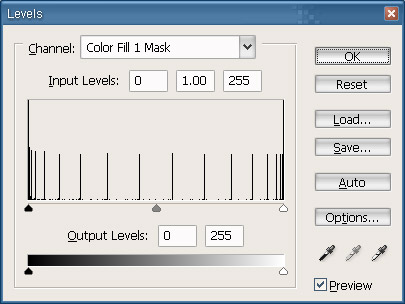
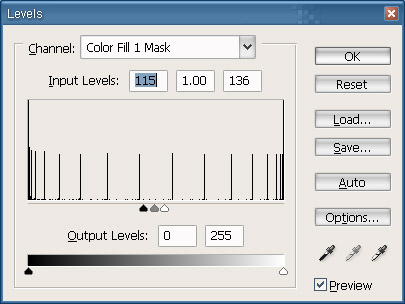
To use the Levels method, bring up the Levels dialog box by pressing Ctrl + L.
Drag the two side sliders towards the middle and you'll see the blur disappearing and the rounded corners starting to show.
With a little experimenting and a combination of these techniques, you can make your website design a little more modern and (maybe) a little more trendy.
Home | Audio | DIY | Guitar | iPods | Music | Links | Site Map | Contact
![]()