|
|
Home | Audio | DIY | Guitar | iPods | Music | Brain/Problem Solving | Links| Site Map
This work is licensed under a Creative Commons License.
How to Make a Portable mp3 Amp from Old Computer Speakers
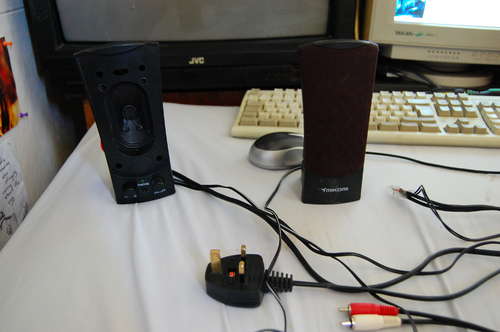
Have you got a pair of old computer speakers lying around that you don't need? Want to make a decent iPod/mp3 amp? These speakers are powered via a PP3 9V battery.
Materials:
speakers
snap on clip for 9V batter
9V battery
audio source
Tools:
soldering iron and solder
screw driver
wire cutters/teeth
wire strippers/teeth
Step 1: Disassemble Speakers
Your speakers might not be 9V, if there not you could possibly use AA batteries in series in a holder or use a gel cell, bit heavy though.
Disassemble the speaker with volume and power input, unscrew it from the back, there should be a transformer attached to the back, this is what takes the 230V (110V) down to 9V or the working voltage for your speakers.
On the transformer it should say the primary and secondary voltage, the secondary voltage should be lower, 9V hopefully, if it is not 9V you may still be in luck, if it is 3V use two AA batteries, if its 6V use 4, if its 12V use either 8 AA batteries or a car battery or gel cell battery, look online for one.
However, if you want, you can put a batter inside if you have room, or outside if you don't, and put the speaker cases back together.
Step 2: Removing Board, Speakers, and Wires
Now you need to remove the board and speakers from the two speakers. to remove the speakers there should be screws holding the speaker in at the corners. For the board there is likely to be screws holding it into the case, and the potentiometers will probably have nuts holding them on. so pull the knob off the front of the volume control and the nut should be exposed. use needle nose pliers or similar to remove it, then repeat for any other control knobs.
Step 3: Adding Power Connector and Removing Second Speaker
In this step we will remove the speaker from the second speaker case, and also add the power connector.
For these speakers to be powered from a 9V battery or whatever battery is used you need to add the connector, if you are using a 9V battery, use a PP3 battery clip, you can either solder it directly onto the board or you can cut the wires from the transformer and add it there, this will give you more cable length, and mean you wont have to desolder and solder onto the board.
If going for the second method strip both wires (teeth or wire strippers) then add the connector and twist the wires together and apply some solder.
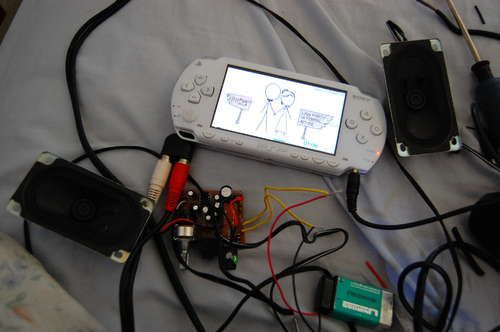
If you want you can test it now, plug the input jack into your audio source, mp3 player etc. If you hear music, well done! if not, not so well done, check cables, and battery life.
If all goes well, time to remove the second speaker, unscrew the case and then unscrew the speaker from the casing. Now you will have to either cut the cable from the speaker to the board or melt the solder off, thread it though the hole in the back of the case, then resolder, I went for the first option, but as the cable broke off the speaker later I ended up doing the later option but slower.
Step 4: Finishing Up
Now you should have finished, all you have left to do if but the board and speakers in a suitable housing or put it back in the old housing ,I was planning on mounting the speakers inside my bag with holes cut for sound to escape, but that's for another lesson.
Hope it all works! have fun sharing your music tastes to the public!!!
Home | Audio | DIY | Guitar | iPods | Music | Links | Site Map | Contact
![]()