 |
Step 1 — Battery
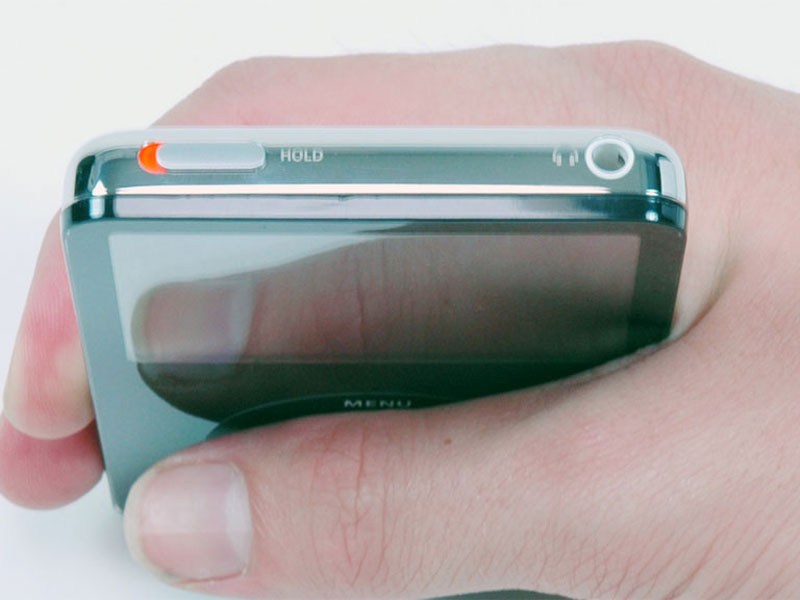
Before opening your iPod, ensure that the hold switch is in the locked position.
|
 |
Step 2
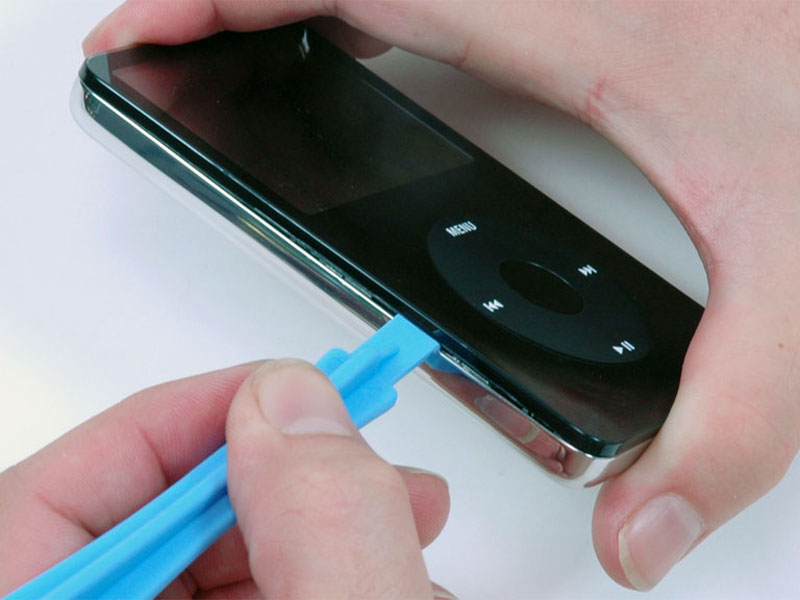
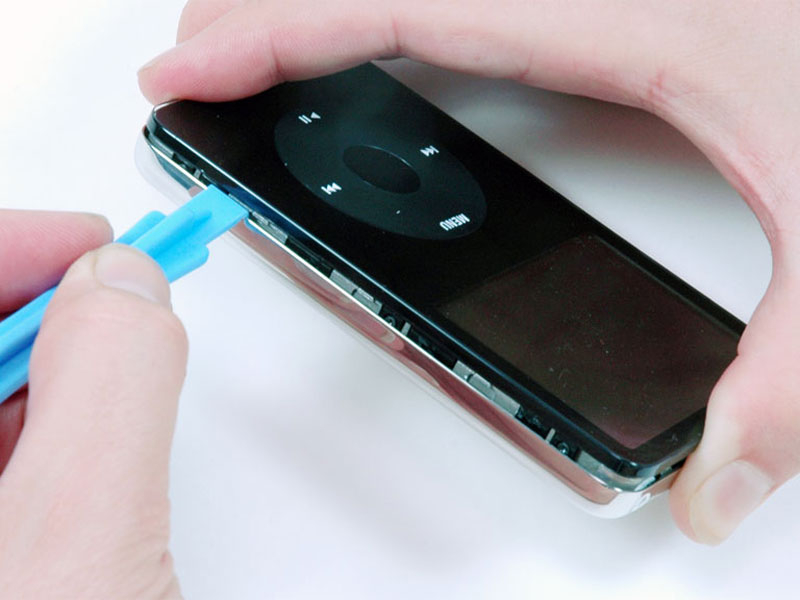
Opening the iPod can be challenging. Don't get discouraged if it takes you a few tries before the iPod is opened.
Insert a plastic iPod opening tool in the seam between the plastic front and metal back of the iPod. Once you've inserted the tool, run it along the seam to free the tabs holding the iPod together.
|
 |
Step 3
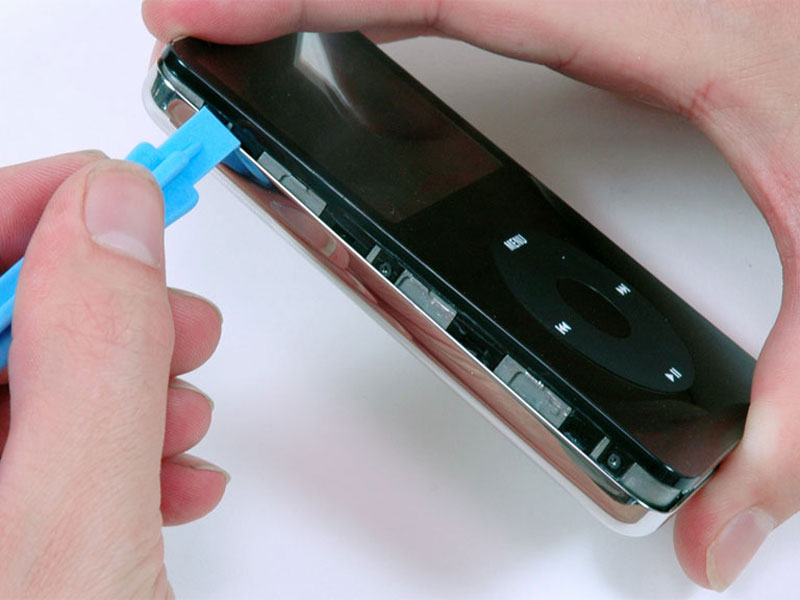
Continue to run the opening tool along the side of the case until all the tabs have been released.
|
 |
Step 4
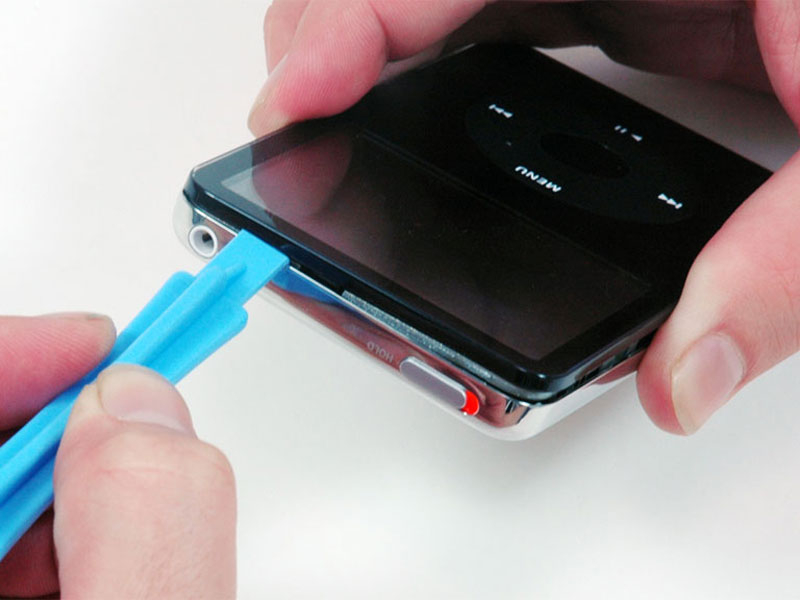
Work around the corner of the iPod and release the single tab near the hold switch.
|
 |
Step 5
Free the tabs holding the iPod together on the other side. You may be able to free the tabs by gently wiggling the front panel of the iPod.
|
 |
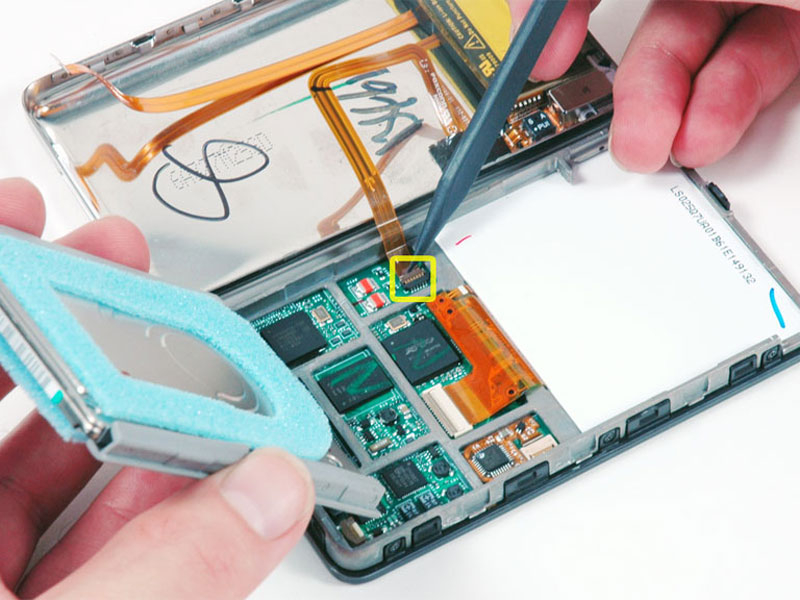
Step 6
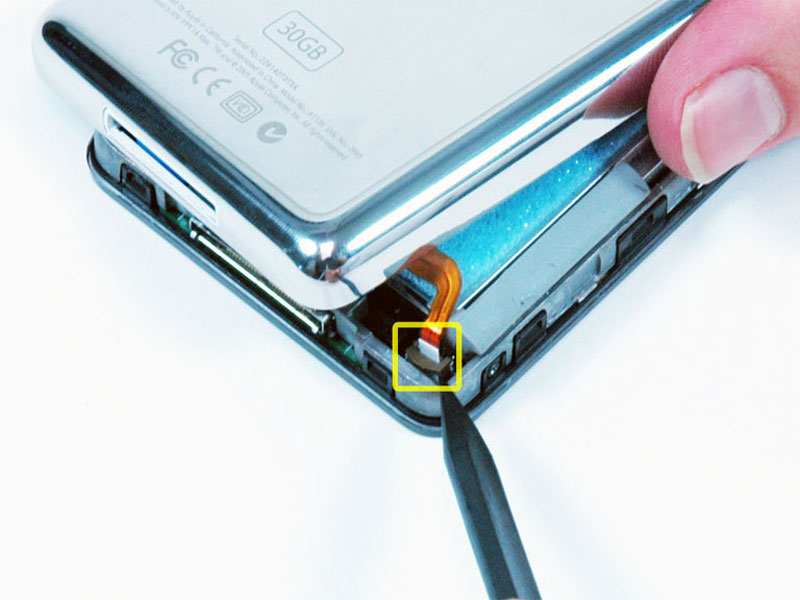
The iPod casing is now open, but don't separate the two halves just yet. There are two ribbon cables connecting the rear panel to the rest of the iPod.
Use a spudger to slide up the brown connector holding the orange battery ribbon in place. You only need to lift the brown locking bar up about 2mm to free the cable.
|
 |
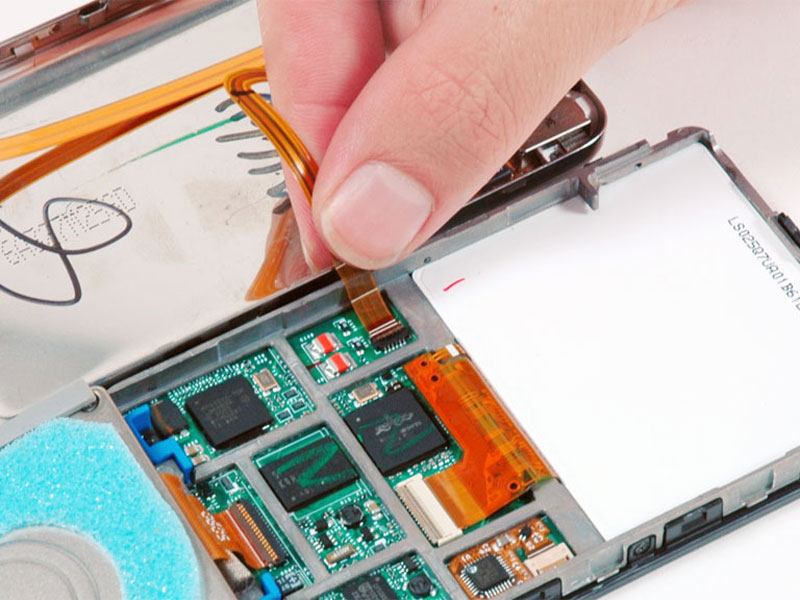
Step 7
Slide the orange battery ribbon out of its connector.
|
 |
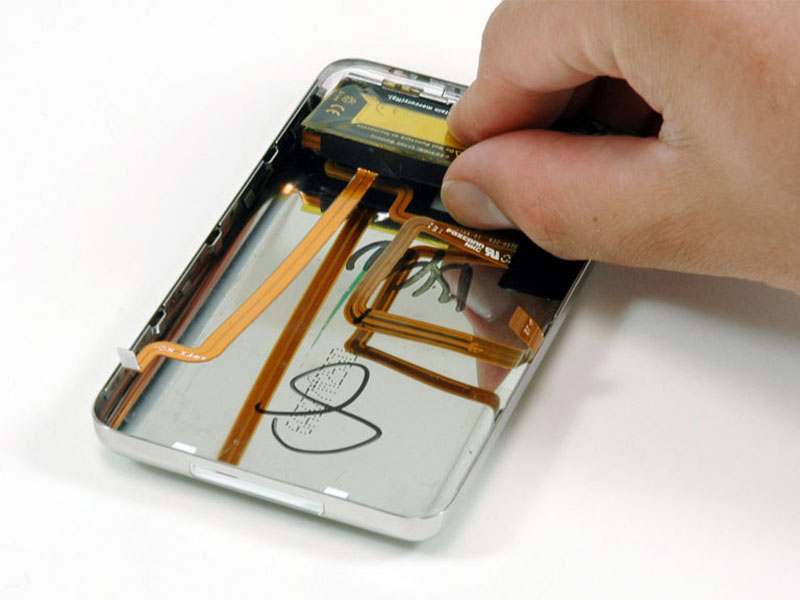
Step 8
Place the rear panel next to the iPod, being careful not to strain the orange headphone jack cable.
|
 |
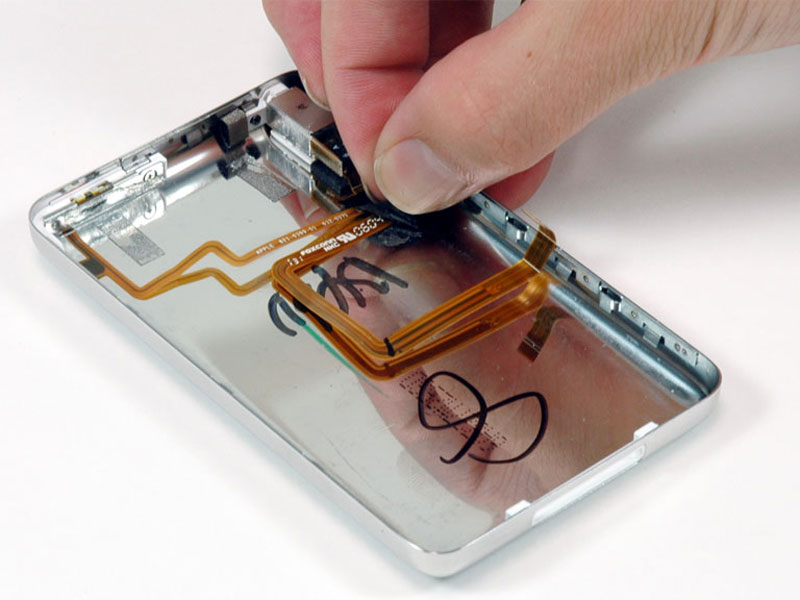
Step 9
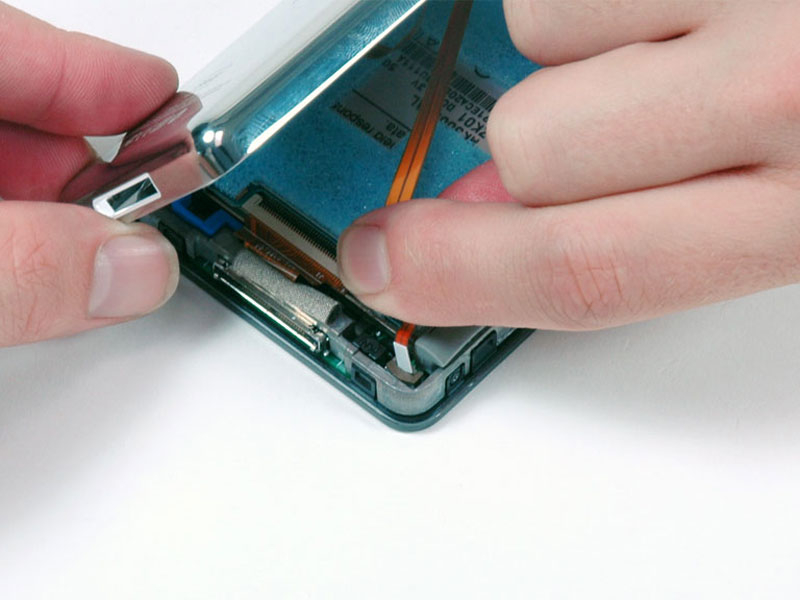
Lift the hard drive up with one hand so you can access the headphone jack ribbon beneath.
Use a spudger to flip up the brown plastic tab holding the headphone jack ribbon in place. The brown tab will rotate up 90 degrees, releasing the ribbon cable.
|
 |
Step 10
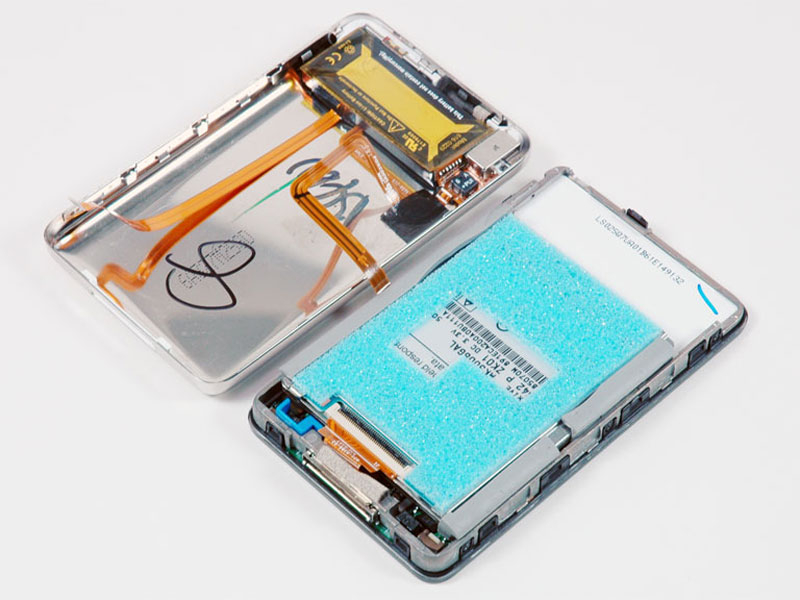
Slide the orange headphone jack ribbon out of its connector.
The rear panel is now free from the iPod.
|
 |
Step 11
The battery is attached to the rear panel with adhesive. Be careful not to tear the orange headphone jack ribbon when removing the battery.
Lift the battery and the attached orange cable out of the iPod. If you have a 60 or 80 GB iPod, the battery will be thicker than the one pictured.
|
 |
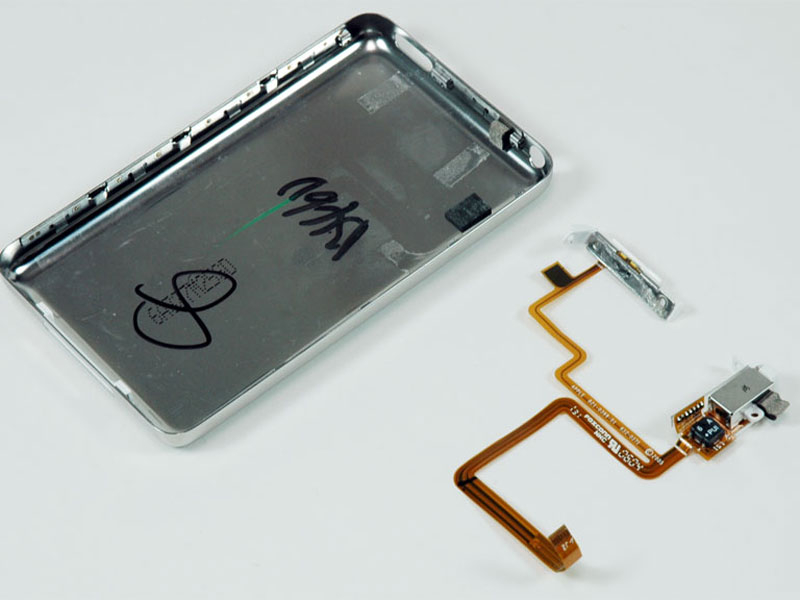
Step 12 — Headphone Jack & Hold Switch
Peel up the black tape securing the orange headphone ribbon cable to the rear panel.
|
 |
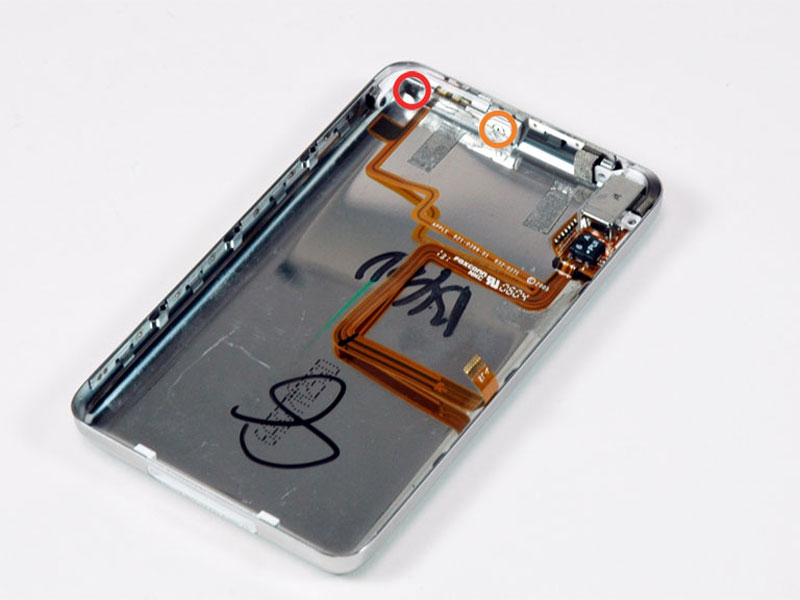
Step 13
Remove the two black Phillips screws securing the headphone jack to the lower casing.
|
 |
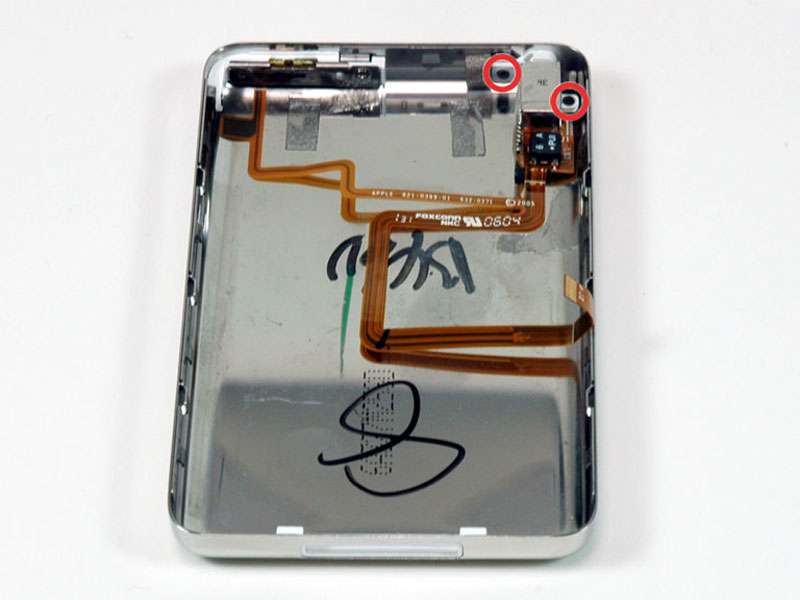
Step 14
Remove the following two screws
One black Phillips screw securing the hold switch near the corner of the iPod.
One silver Phillips screw securing the other side of the hold switch.
|
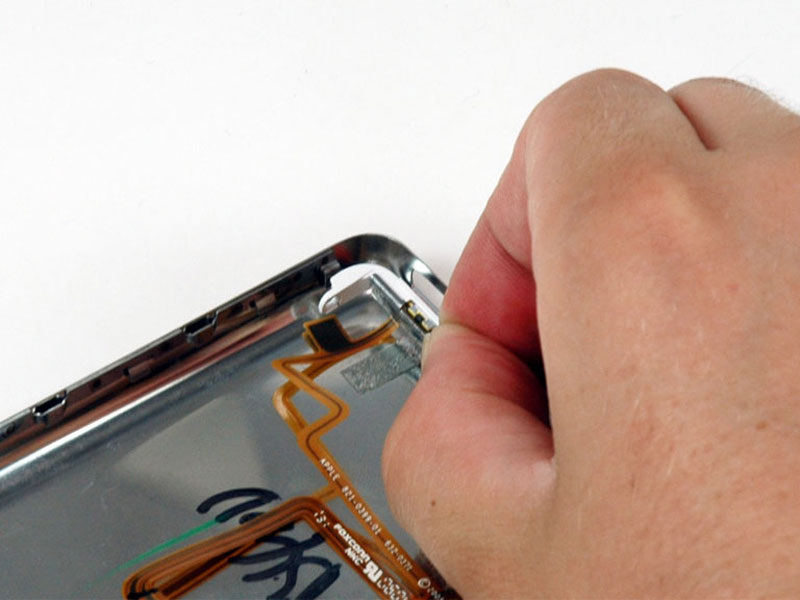 |
Step 15
Lift the hold switch free of its housing on the rear panel. Don't remove the hold switch completely at this time because it is connected to the same cable as the headphone jack.
|
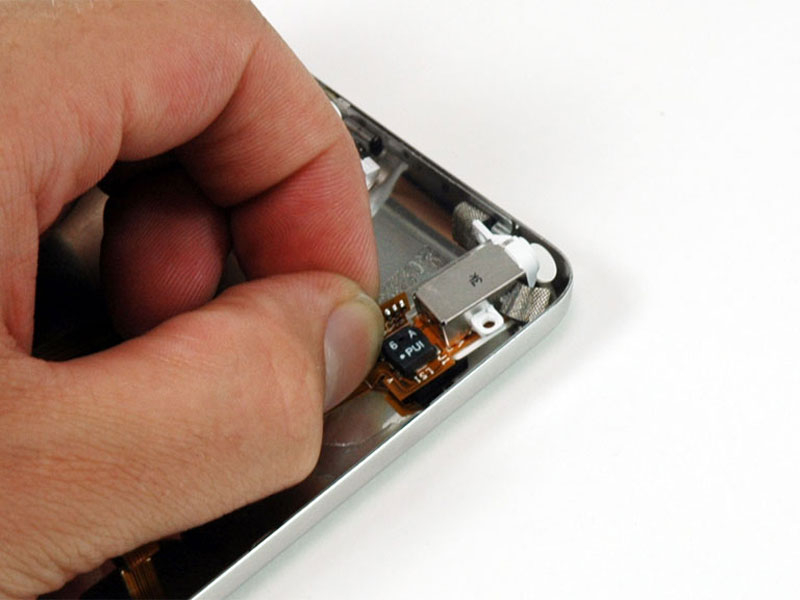 |
Step 16
Slide the headphone jack out of its housing on the rear panel.
|
 |
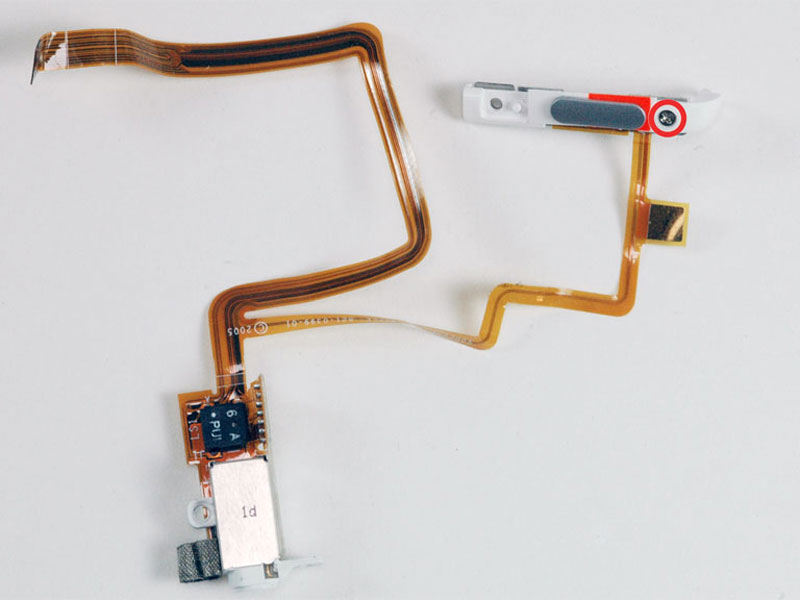
Step 17
Lift the headphone jack and hold switch assembly out of the iPod.
|
 |
Step 18
If your replacement headphone jack includes the white plastic hold switch, simply reinstall the headphone jack now.
If your replacement part does not include the plastic hold switch, follow the next steps to transfer the plastic hold switch to your new headphone jack.
Remove the single Phillips screw nearest to the hold switch.
Lift the plastic hold switch away from the orange ribbon cable.
|
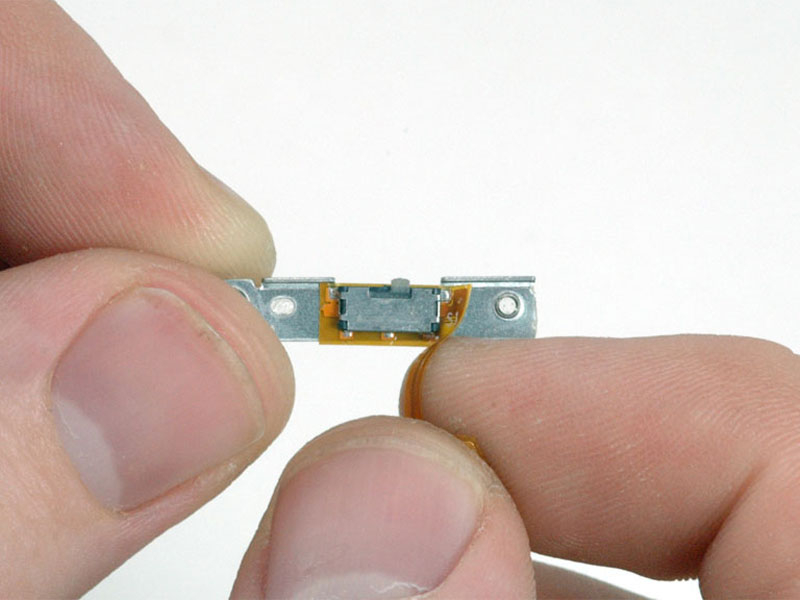 |
Step 19
Carefully peel the orange ribbon cable and attached black hold switch up from the metal backing.
Attach the replacement hold switch unit to the silver metal backing, making sure the two small posts on the back of the hold switch are aligned with the two holes in the metal backing.
|
