Using Voice Filters in Studio Logic
For this tutorial we will build upon the Poetry Reading Lesson. If you are more than adequately prepared for this, the you could use your voice and apply minimal filters. Likewise, even if you do an excellent job in your vocal recording then you may still want to add some filters in your attempt to add "voice" to the poem. If done properly then the mere vocal recording will be able to stand on its own. Add some background loops/instruments and your poem now becomes a song.
For best results you will want to use an external mic. Regardless of the mic used be aware of both external noises and feedback.
Setting-up the Project
Begin by going to File -> New. In this case we will begin by creating a new Empty Project.
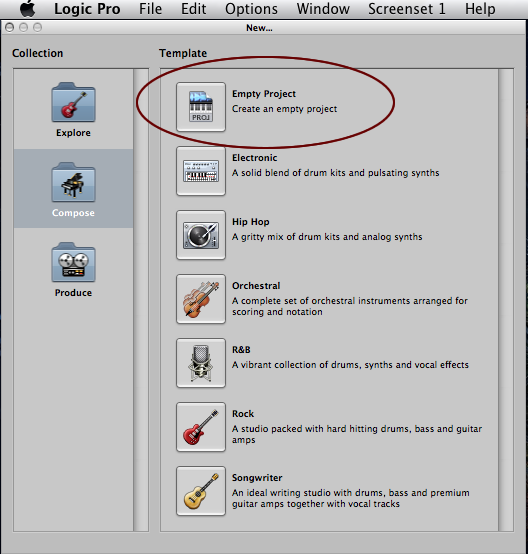
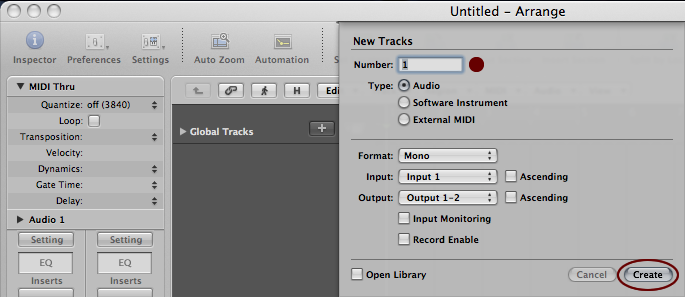
As soon as you click the Empty Project icon, the panel below will appear. You are being asked to create some New Tracks, and since we are just reciting a poem for now then it is necessary to create only 1 track. You can add more latter on.
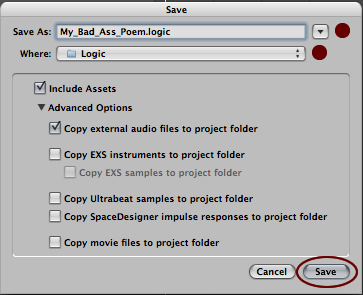
After creating the new project, then the next thing to do is File -> Save or Cmd S. Use proper naming protocol as in the image below. Once you name your file, then click Save.
Record
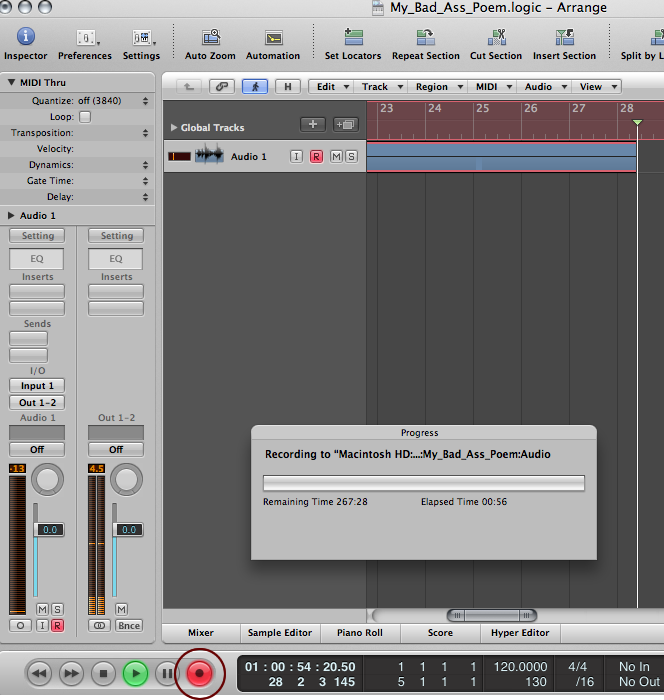
Once your project is created and named, then it is time to record. Merely click the Record button circled below and start reciting/singing. When you are done recording then stop it, rewind, and playback to insure that all is as planned.
Effects
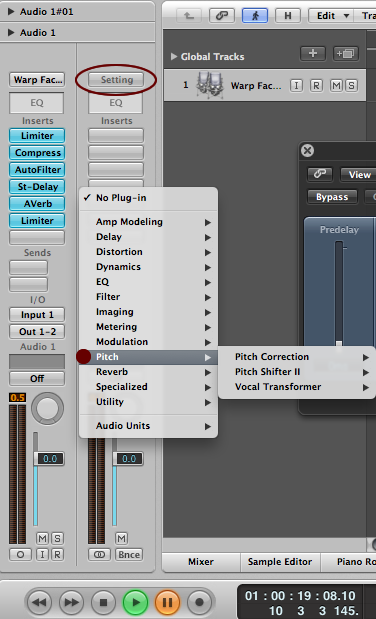
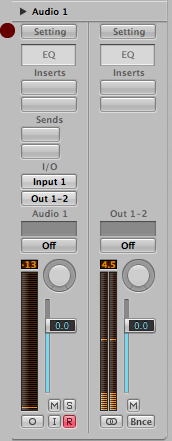
Once your track is recorded now is the time to add some vocal effects. Rewind the audio track, and then click on the Setting button under Audio 1.
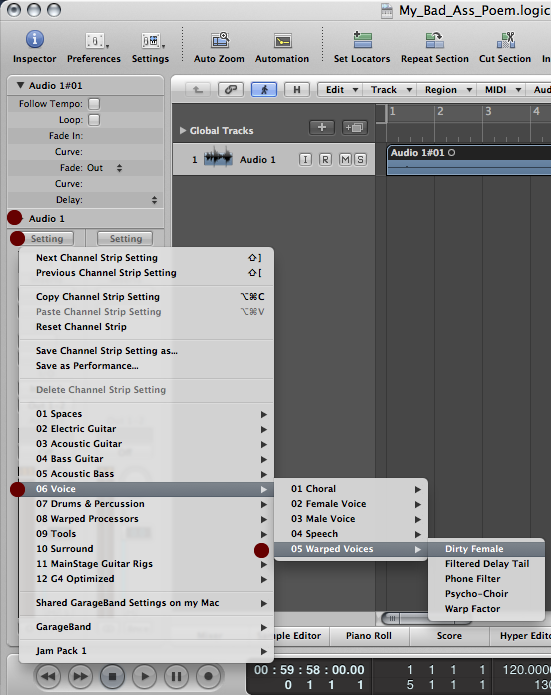
With one click of the mouse the following drop-downs will appear. In the image below the selection is:: Voice -> Warped Voices -> Dirty Female. In our actual audio track we will be using the Warp Factor.
Once the desired filter is selected then it is possible to go in and start tweaking the various settings. In the image below we are using the Warp Factor, and will work with the Limiter in order to enhance the Limiter filter.

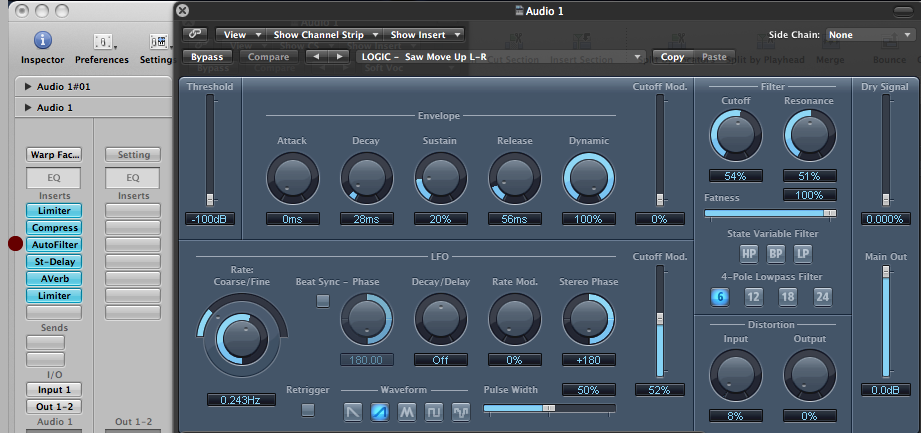
The image below is the AutoFilter panel. Here you can increase or decrease the various properties of the AutoFilter.
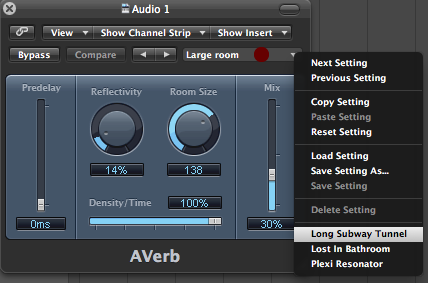
Below is another example of a filter panel. In the image below we are setting the AVerb effect from a Large Room to a Long Subway Tunnel.
To add another filter/effect, then click on the Setting button below and make your selection. In the image below we are exploring Pitch.